It is time to begin preparing for the Winter garden and I am very excited about it this year because this will be my biggest garden ever; looking forward I see a Green house being built in my back yard, there is definitely enough space to do it and I can get creative as I usually do.
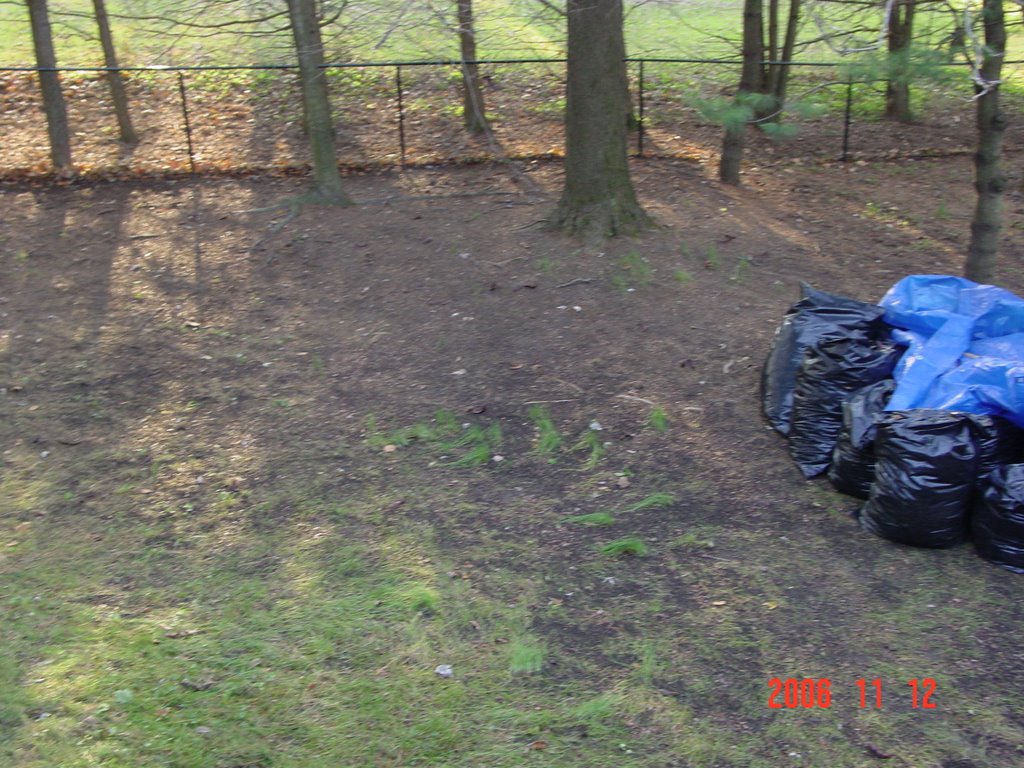
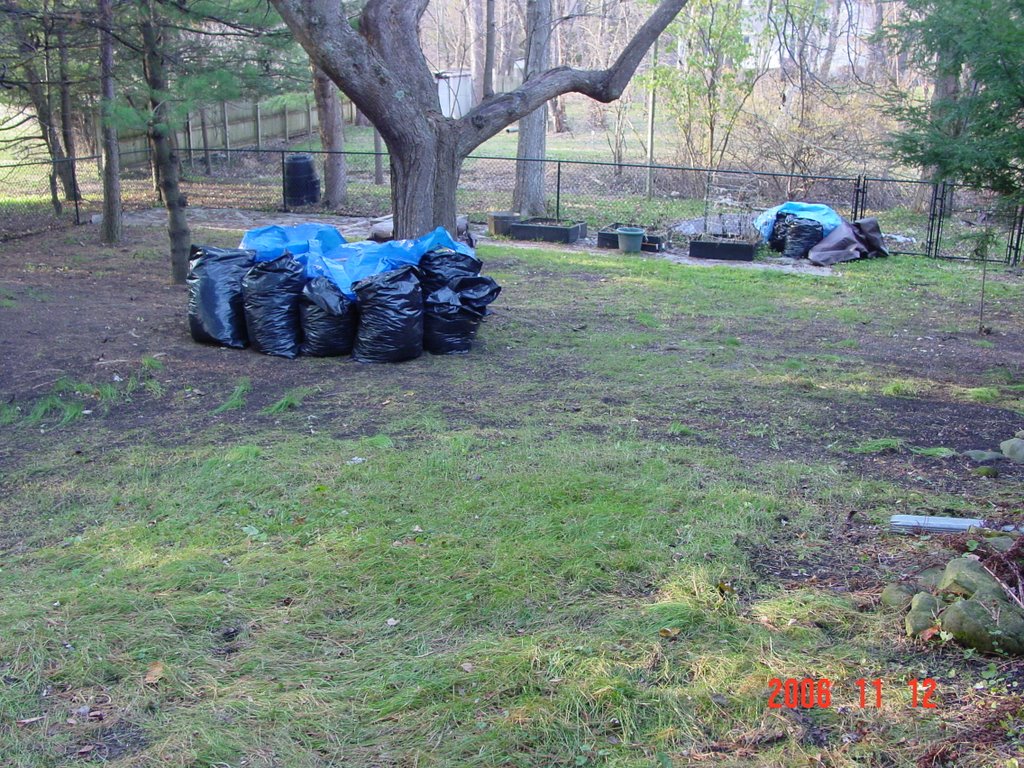
I started cleaning up outdoors so tomorrow I will hit the backyard where next years garden will be placed; lots of work to be done but I am looking forward to it, definitely worthwhile. I got into cleaning up the backyard and forgot to take the before photos so here are the after photos along with the 22 bags of leaves and yard matter I bagged, boy do my feet hurt; 4 plus straight hours of raking and bagging, raking and bagging.
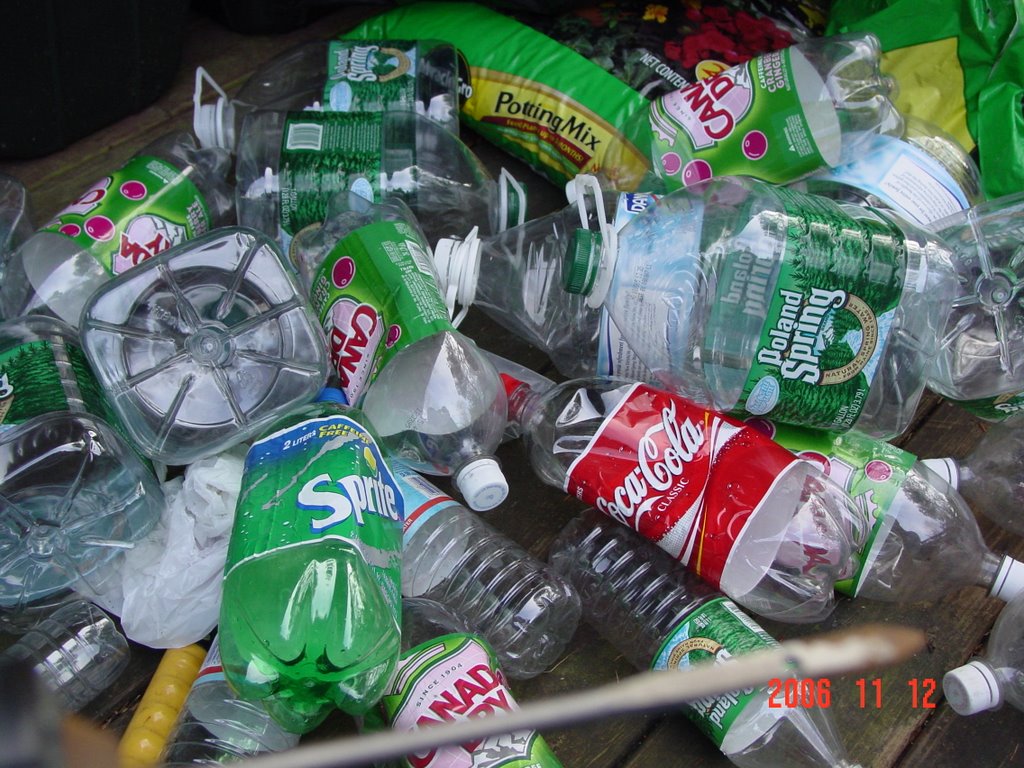
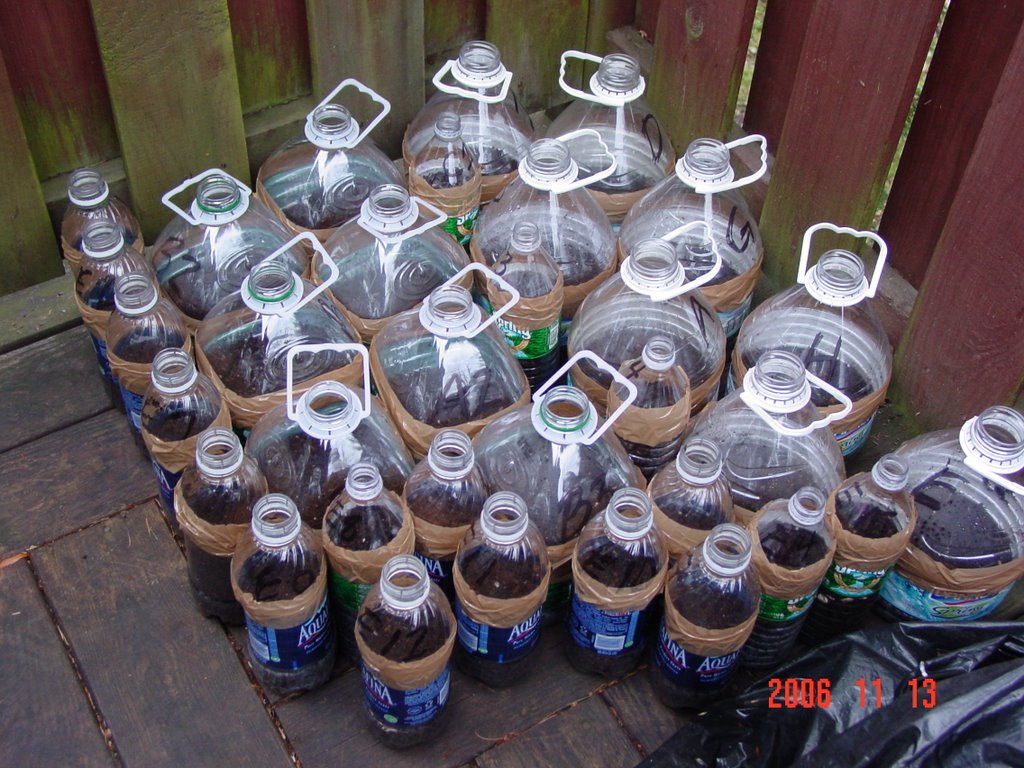
Now, here is what you all have been waiting for; how to start your Winter sowing: Gather your bottles, throw away all the caps and make sure your bottles are all clean; do not use harsh liquid detergents to clean them and make sure there is no cleansing residue, so rinse well.
You will need these things:
As you can see I have an assortment of bottles in different shapes and sizes with designs on what will go in each bottle. The smaller bottles will have herbs and the soda bottles will have flowers and so forth and so on.

Now open all the bottles this way, use scissors and don't cut too low, like this: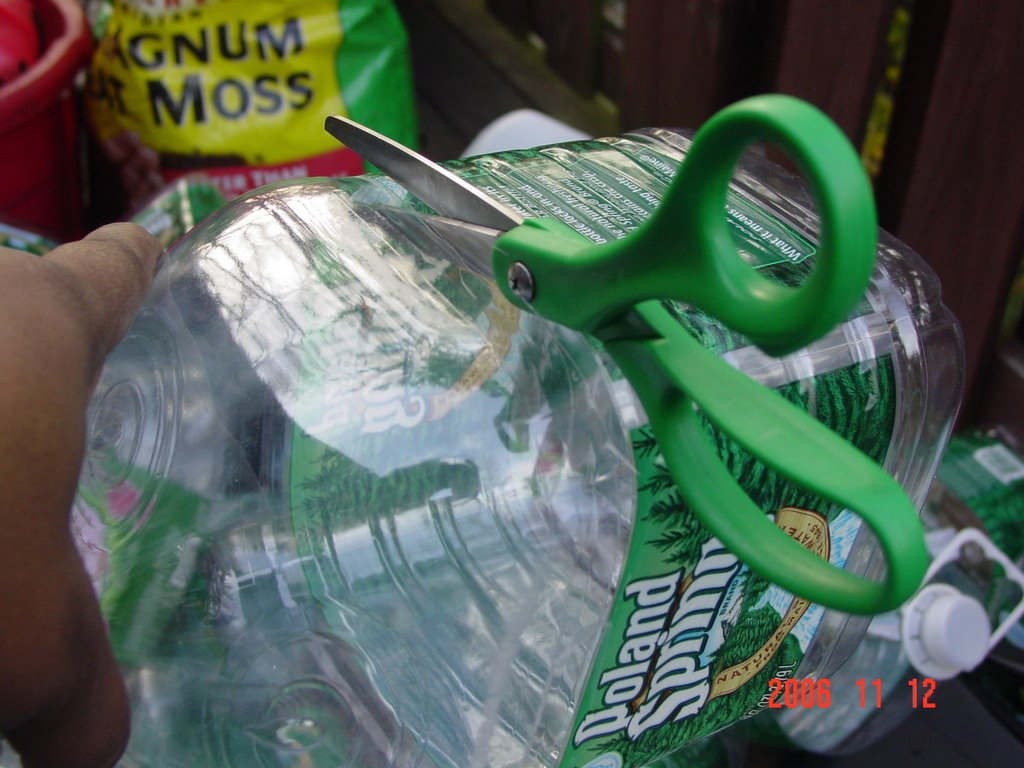
Make draining holes in the bottom of each bottle like this: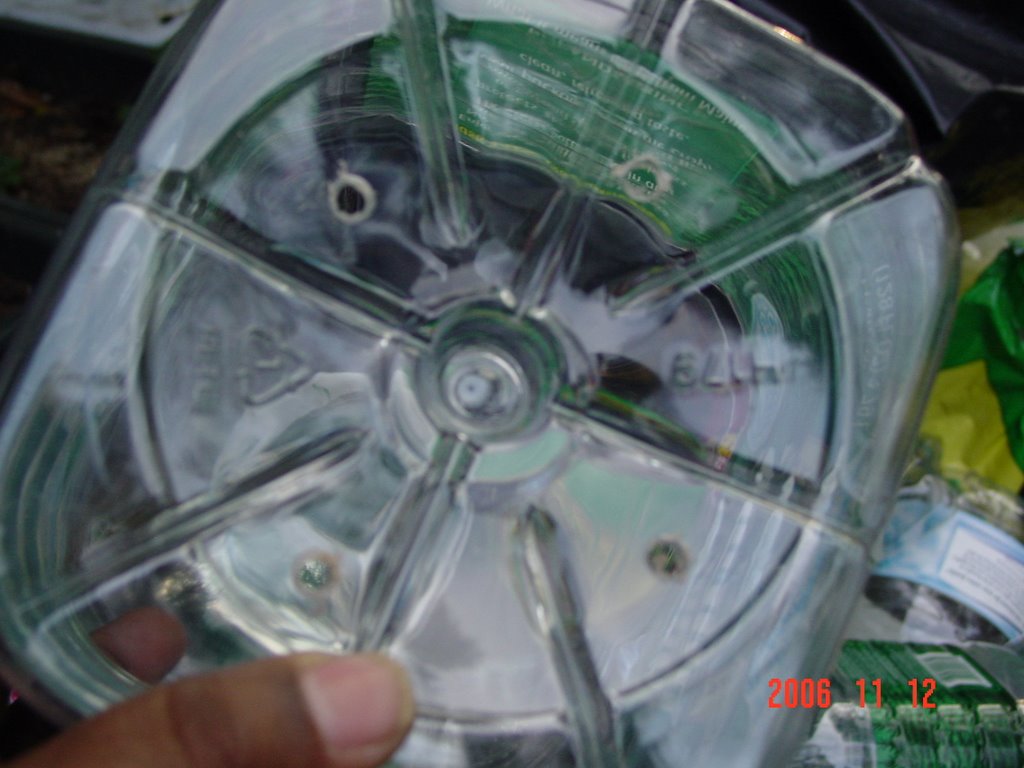
Now to prepare my soil; I always use Miracle Grow for plants and vegetables its the best. I add a bit of manure and some sphagnum moss to lighten it up a bit so that the soil isn't real heavy for my seeds, good for aeration see: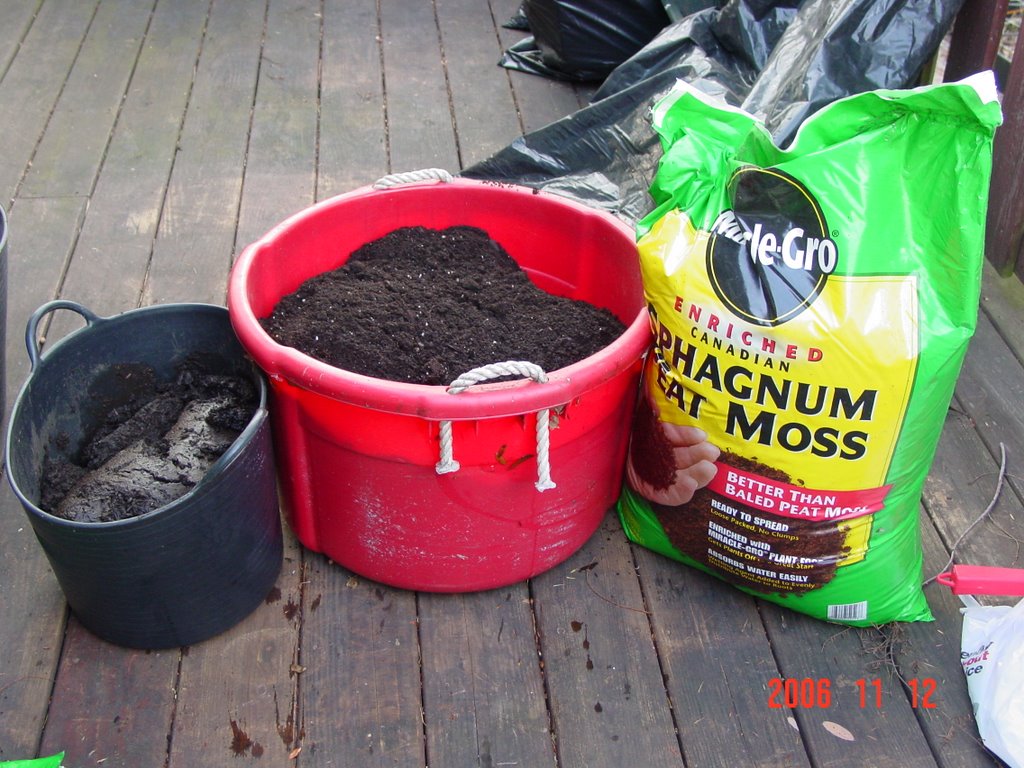
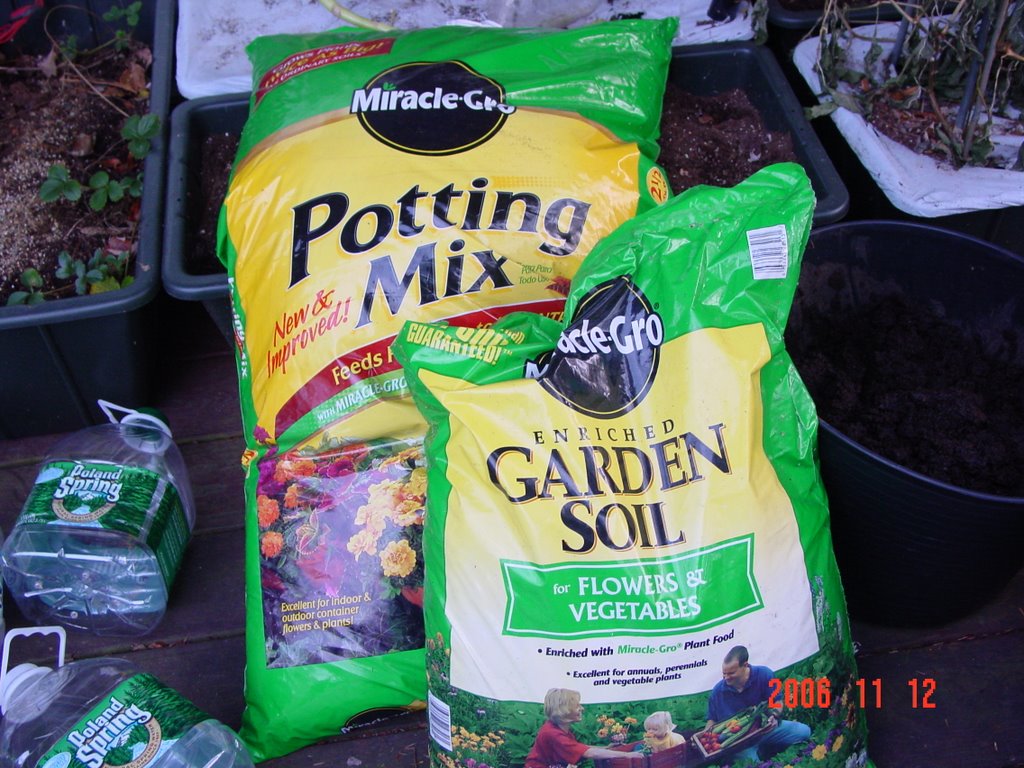
If you don't have the manure or the sphagnum moss, its okay you are using the best soil for what you are doing.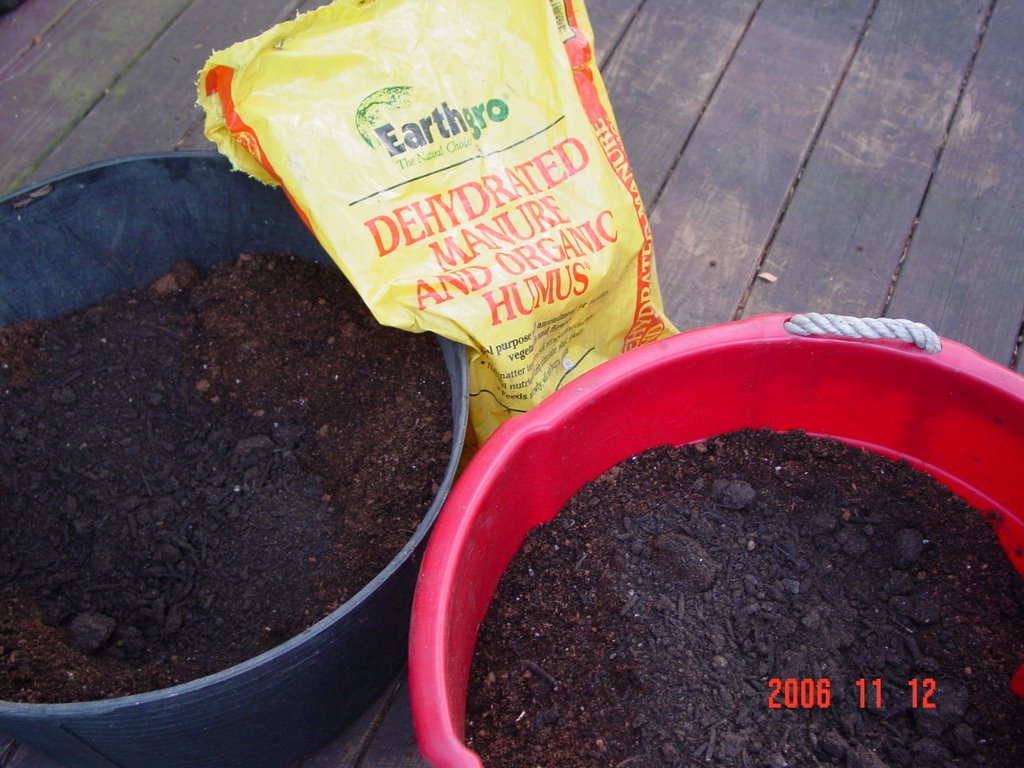
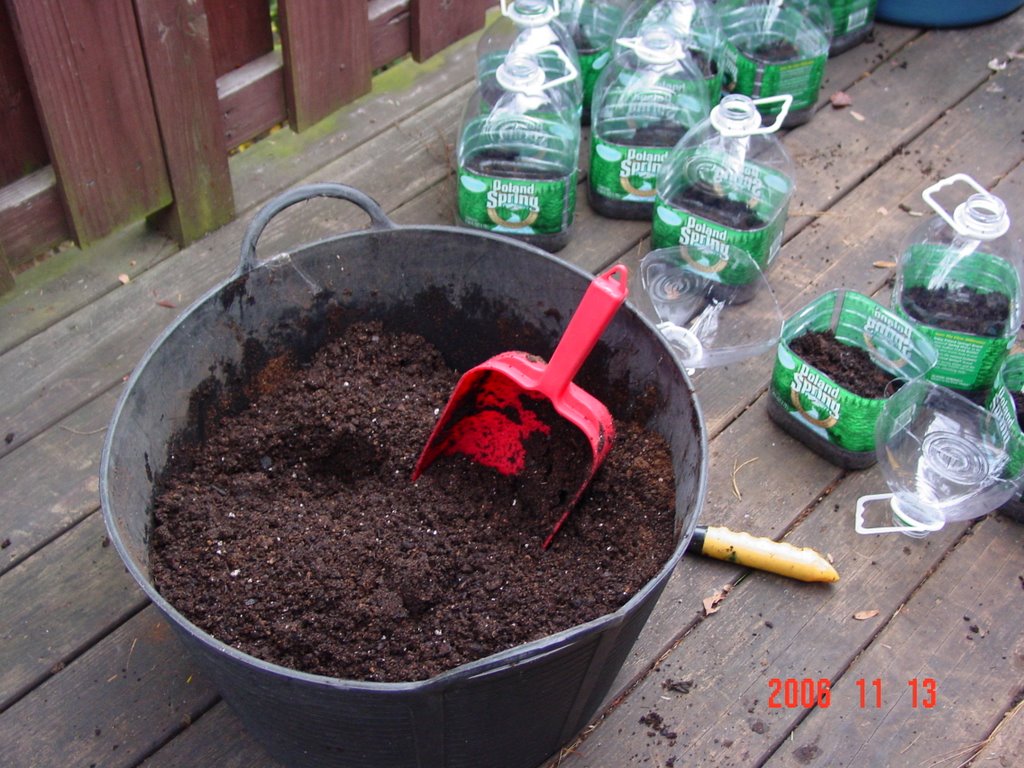
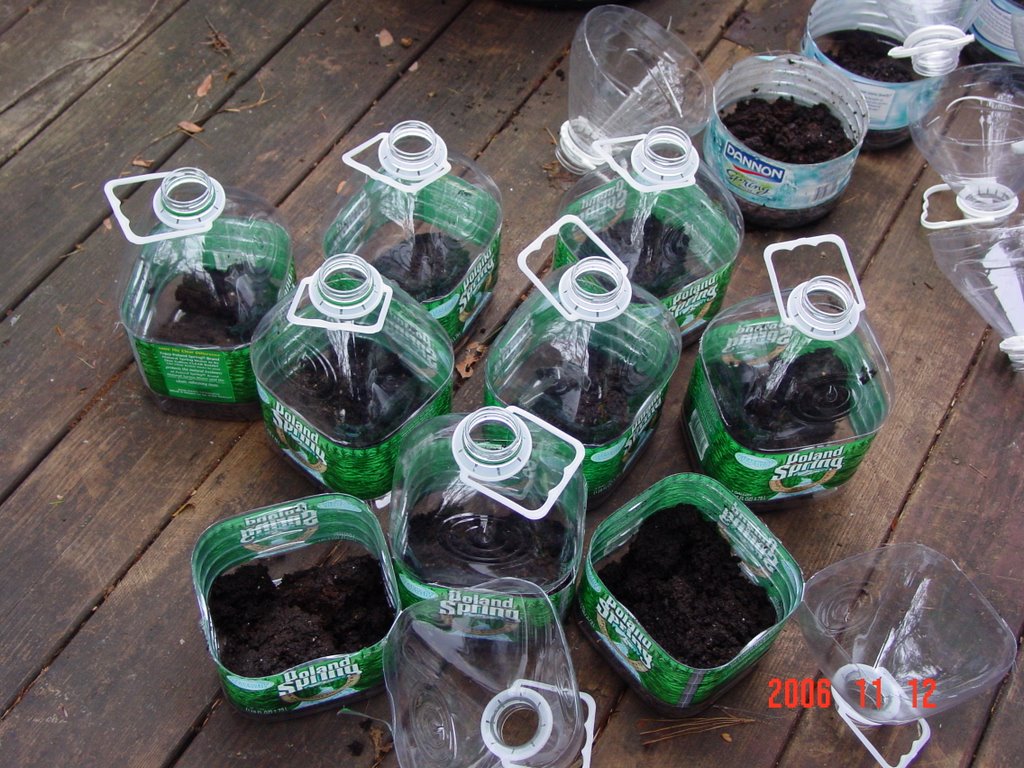
Now here is where the fun begins, mud pies; place some of your mixed soil in a very large bucket or a small one depending on the amount of veggies, flowers or herbs you are going to grow, mix with water until moist and manageable but not so wet that it falls apart in your hand like this: Now place a sizeable mud clump into the bottom of the bottles, about a third to half of the way depending on what you are planting now place aside until you have them all done. This is where a legend comes in handy, you know what you are planting and have an idea of the size of the bottle you want to use. Remember that you won't need a whole lot of seeds, it depends on the size of the bottle you will be using, read the seed packet labels and get a feel for what you need to check for. Crucial, know how much of the flower/vegetable or herb you want to plant; we don't want to crowd them but we do want them to be snug like this.
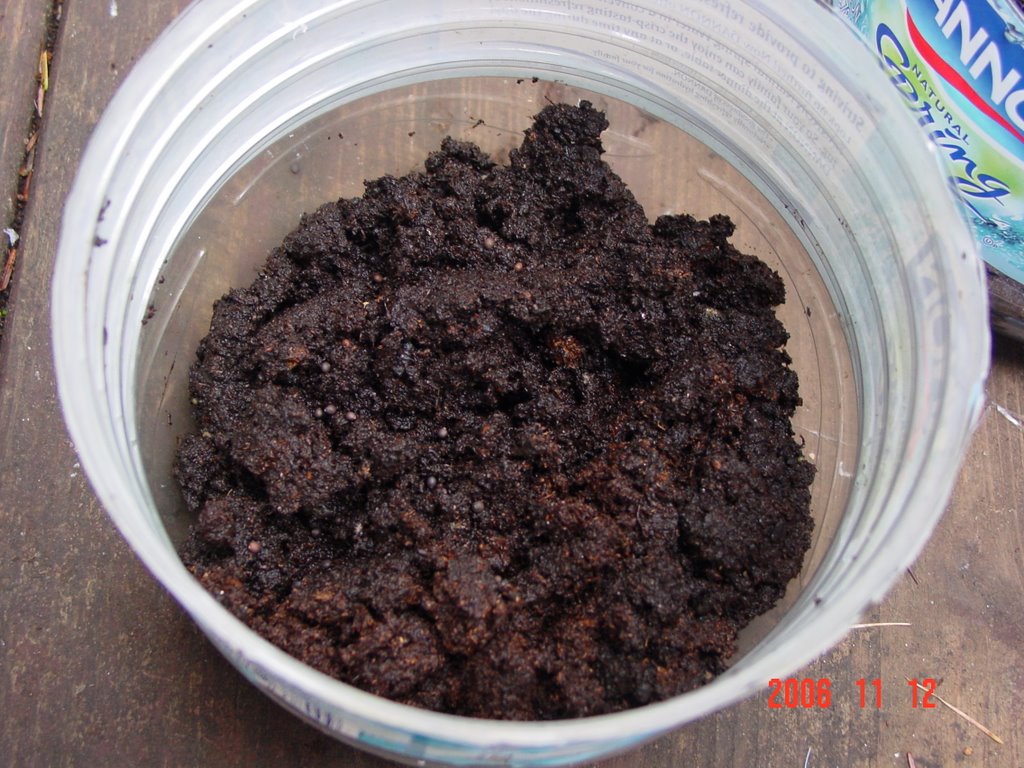
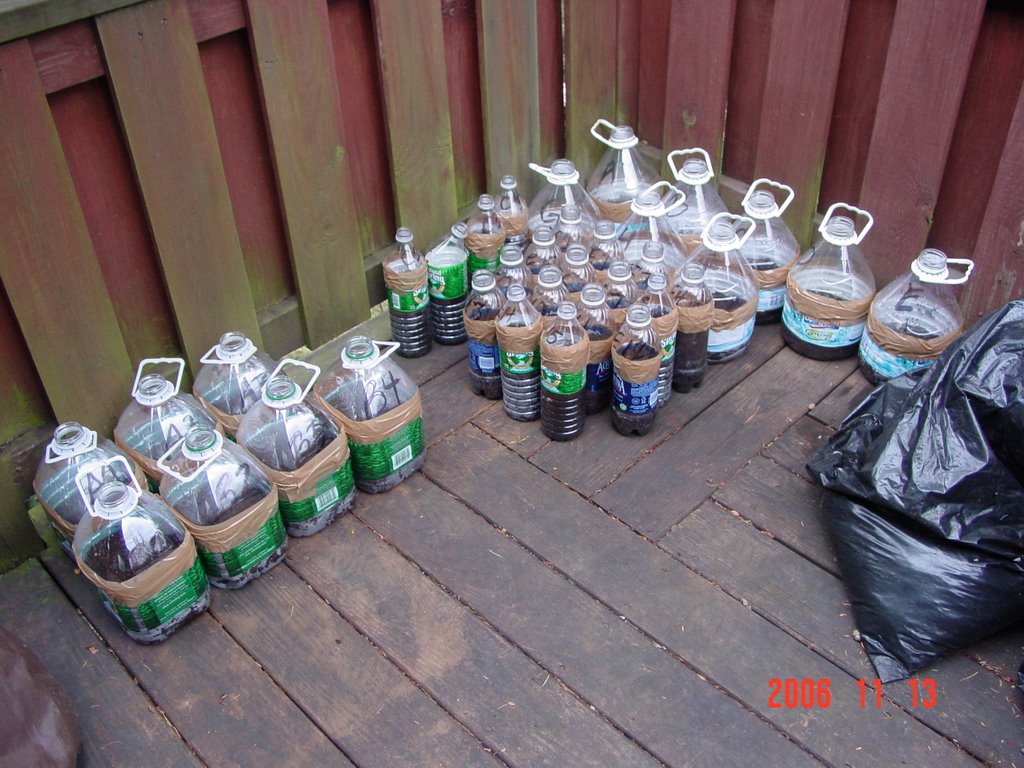
 Place them in the bottle like this above right and then give it a number with a sharpie as thick as you can write it, remember it will be outdoors in the elements until the first signs of Spring and you want to know what you have planted so when it comes time to actually place them you know what the plant is and how much room it will require and don't forget to keep a legend so you'll know which number correlates to which plant or where each numbered bottle is positioned just in case the number wears off;do it like this :
Place another clump of loose soil on top of the seeds and seal the bottle like this, you don't want it to be mushy on the top and bottom:
Place the bottles outdoors in a secure area where they won't be disturbed and forget them for the Winter like this:
Now for the clean up of my mess, broom and dustpan, it was so much fun...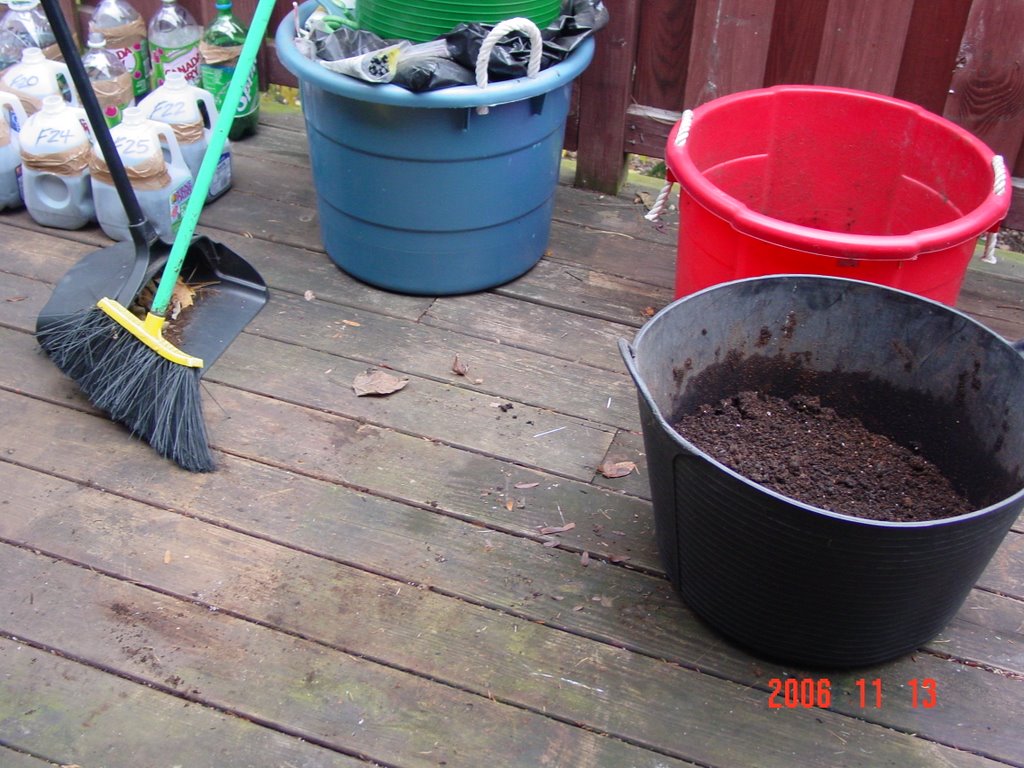
Tada, I will update again when the time is right for you to actually place your little seedling babies in their permanent beds for them to continue growing, until then....
Chow for now
