Friday, October 06, 2006

Sow and Sew

Well hello again,


It is time to begin preparing for the Winter garden and I am very excited about it this year because this will be my biggest garden ever; looking forward I see a Green house being built in my back yard, there is definitely enough space to do it and I can get creative as I usually do.
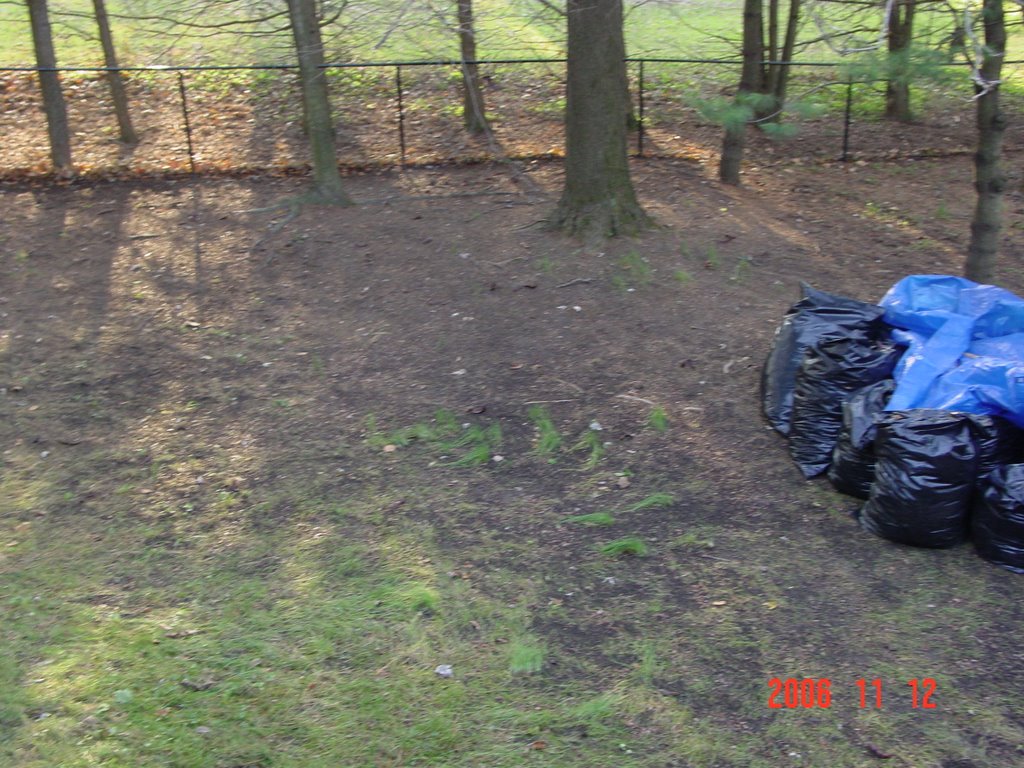
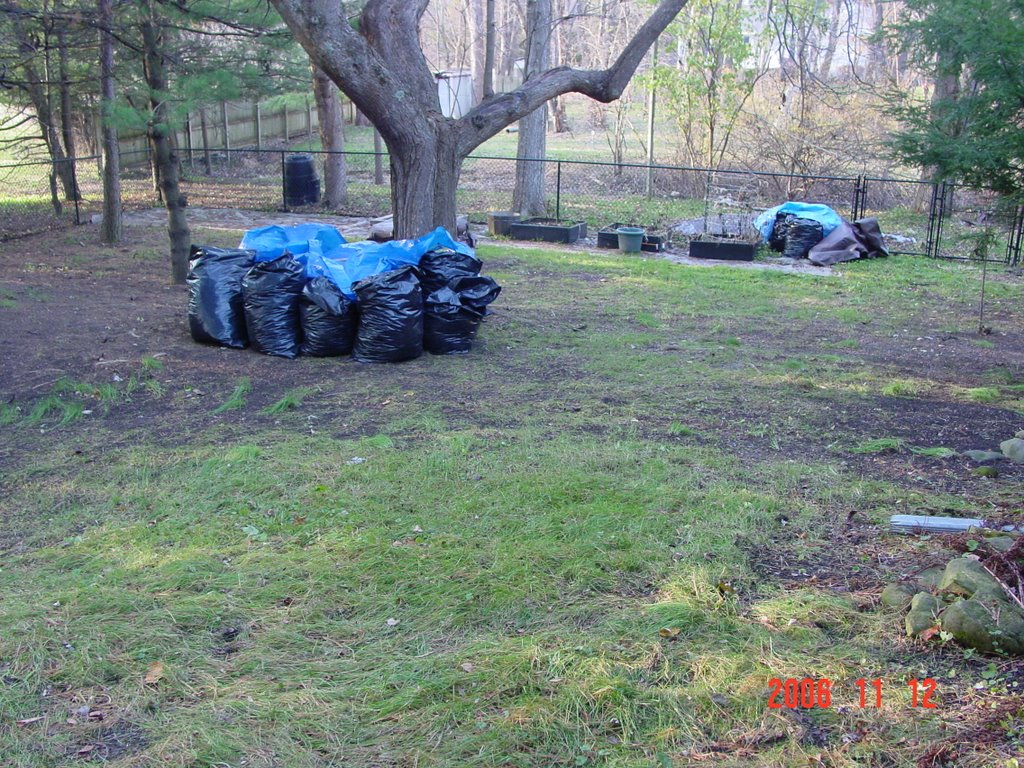
I started cleaning up outdoors so tomorrow I will hit the backyard where next years garden will be placed; lots of work to be done but I am looking forward to it, definitely worthwhile. I got into cleaning up the backyard and forgot to take the before photos so here are the after photos along with the 22 bags of leaves and yard matter I bagged, boy do my feet hurt; 4 plus straight hours of raking and bagging, raking and bagging.


Now, here is what you all have been waiting for; how to start your Winter sowing: Gather your bottles, throw away all the caps and make sure your bottles are all clean; do not use harsh liquid detergents to clean them and make sure there is no cleansing residue, so rinse well.
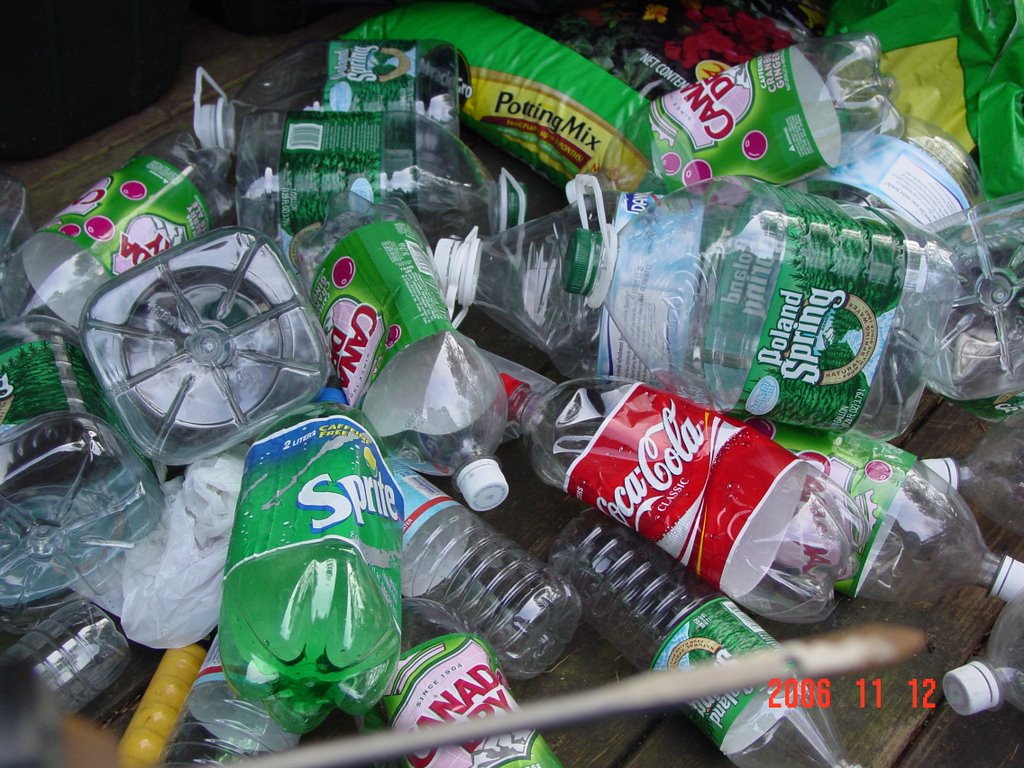


You will need these things:


As you can see I have an assortment of bottles in different shapes and sizes with designs on what will go in each bottle. The smaller bottles will have herbs and the soda bottles will have flowers and so forth and so on.
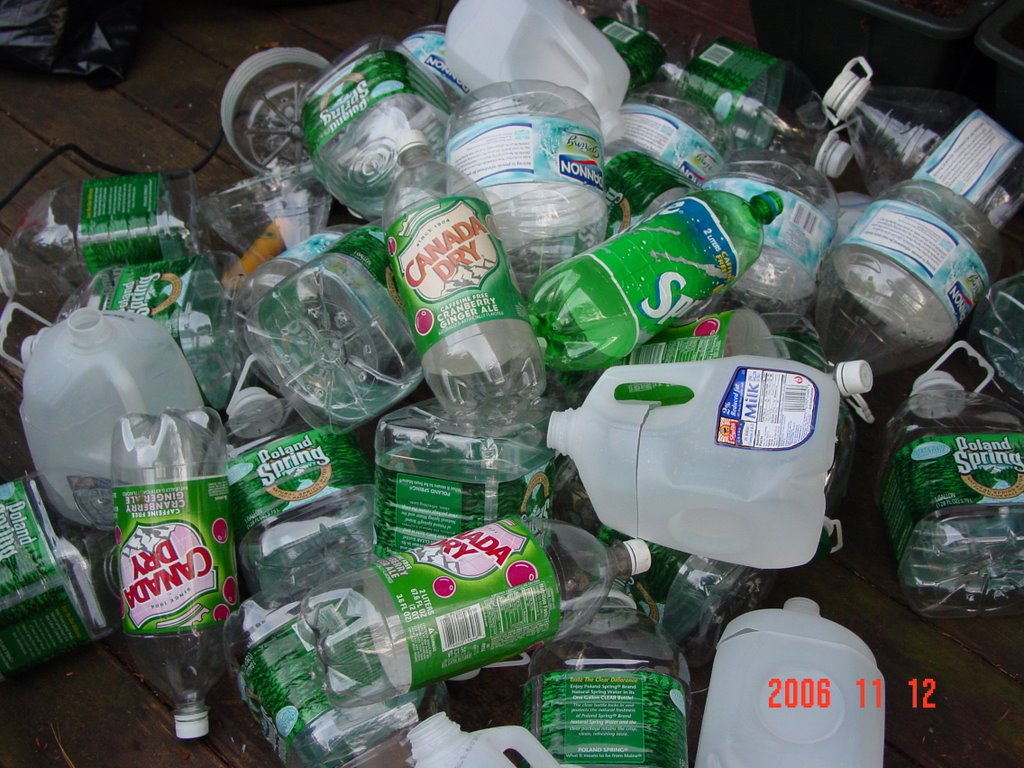


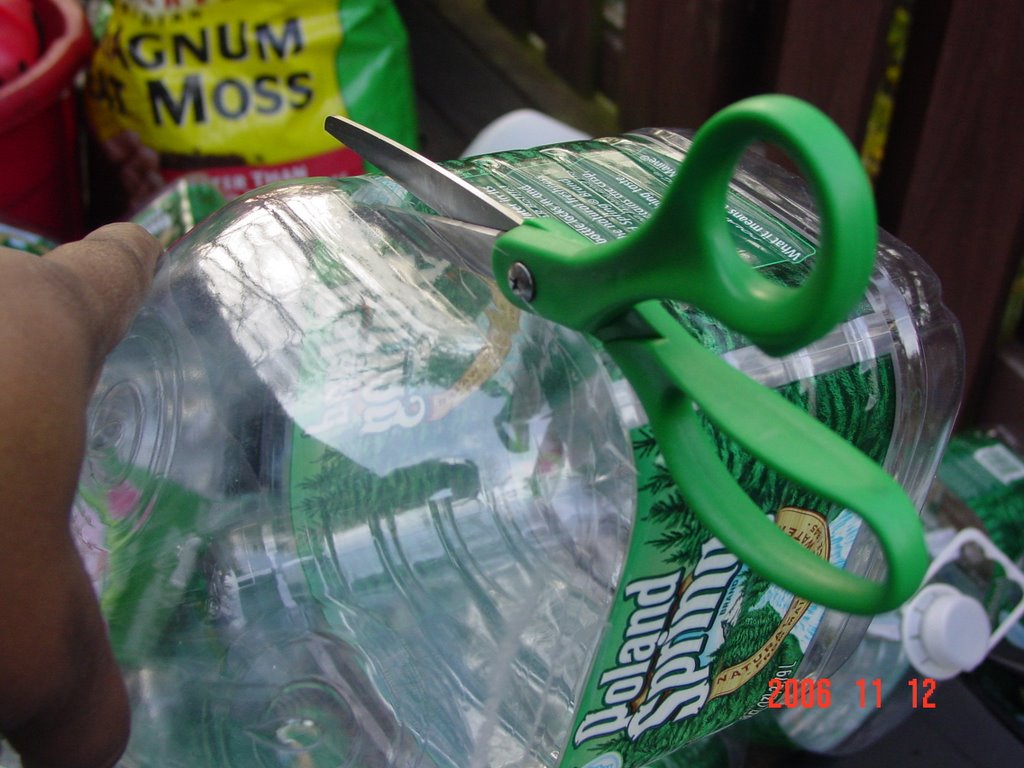
Now open all the bottles this way, use scissors and don't cut too low, like this:


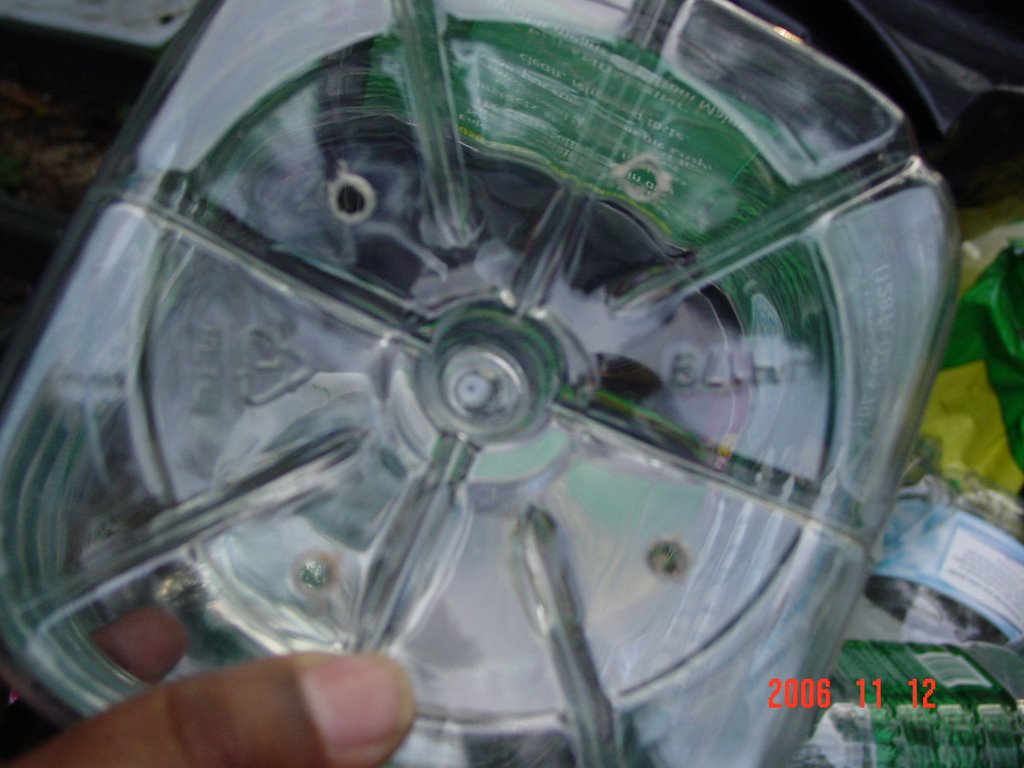
Make draining holes in the bottom of each bottle like this:


Now to prepare my soil; I always use Miracle Grow for plants and vegetables its the best. I add a bit of manure and some sphagnum moss to lighten it up a bit so that the soil isn't real heavy for my seeds, good for aeration see:
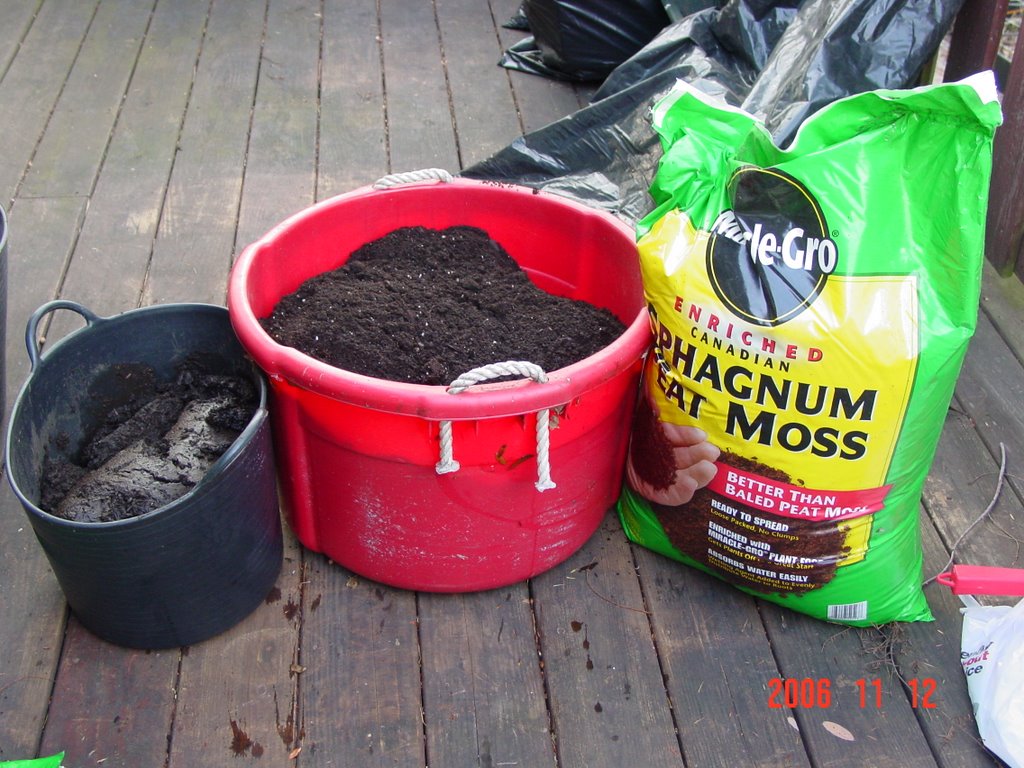
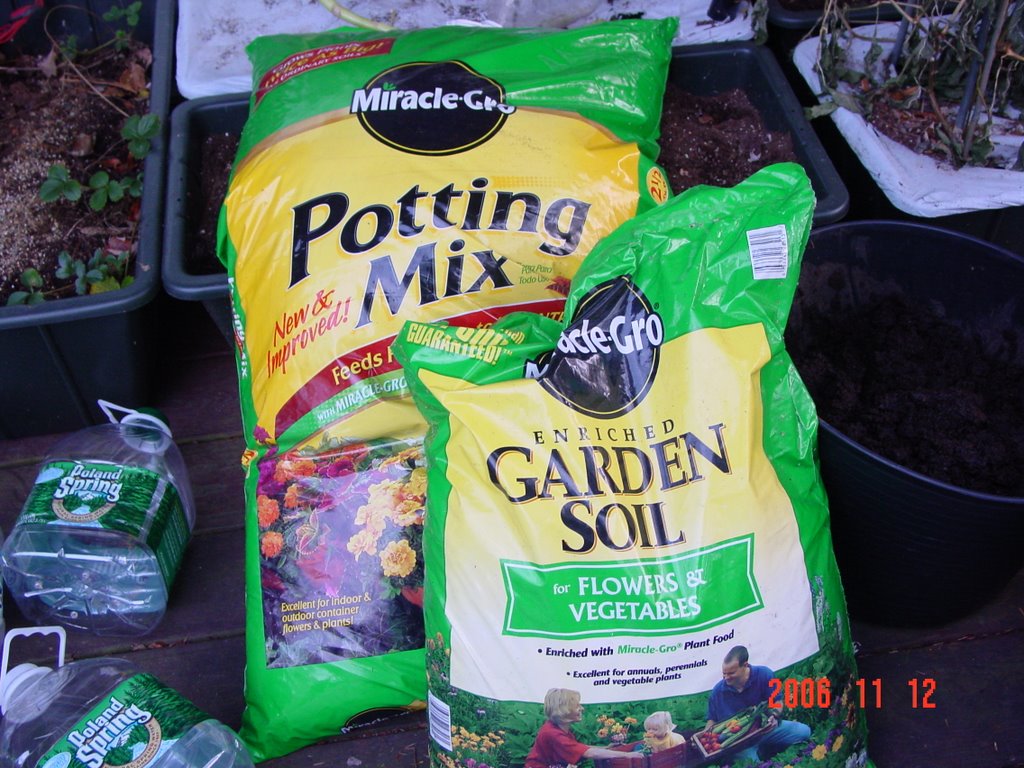


If you don't have the manure or the sphagnum moss, its okay you are using the best soil for what you are doing.
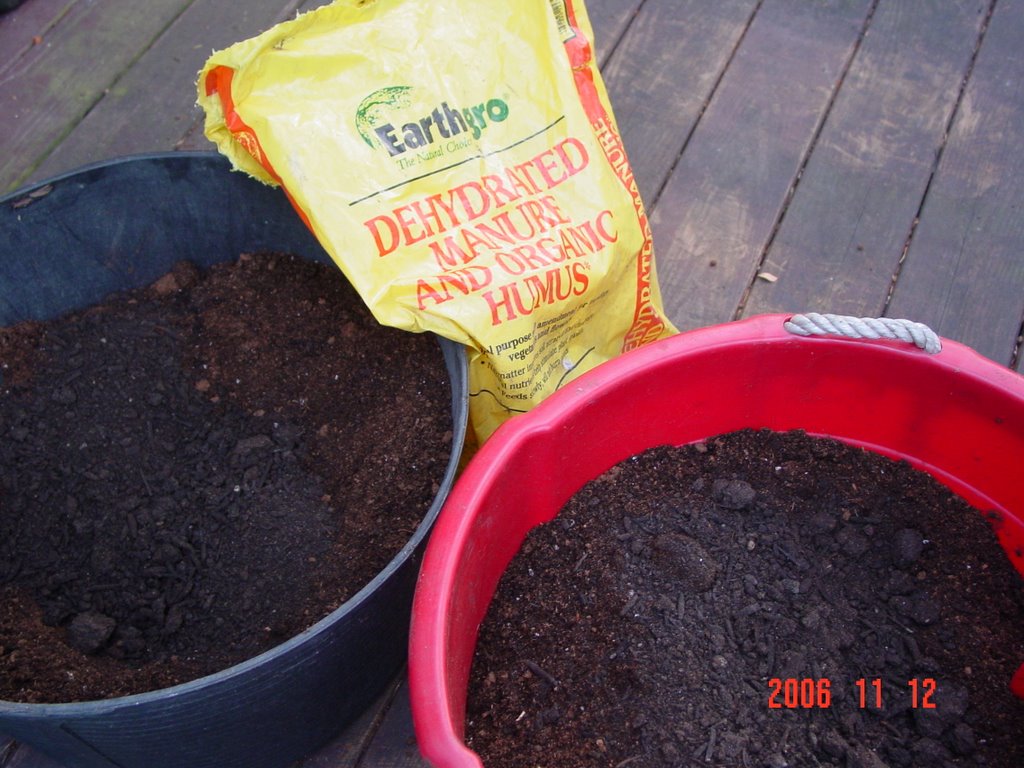
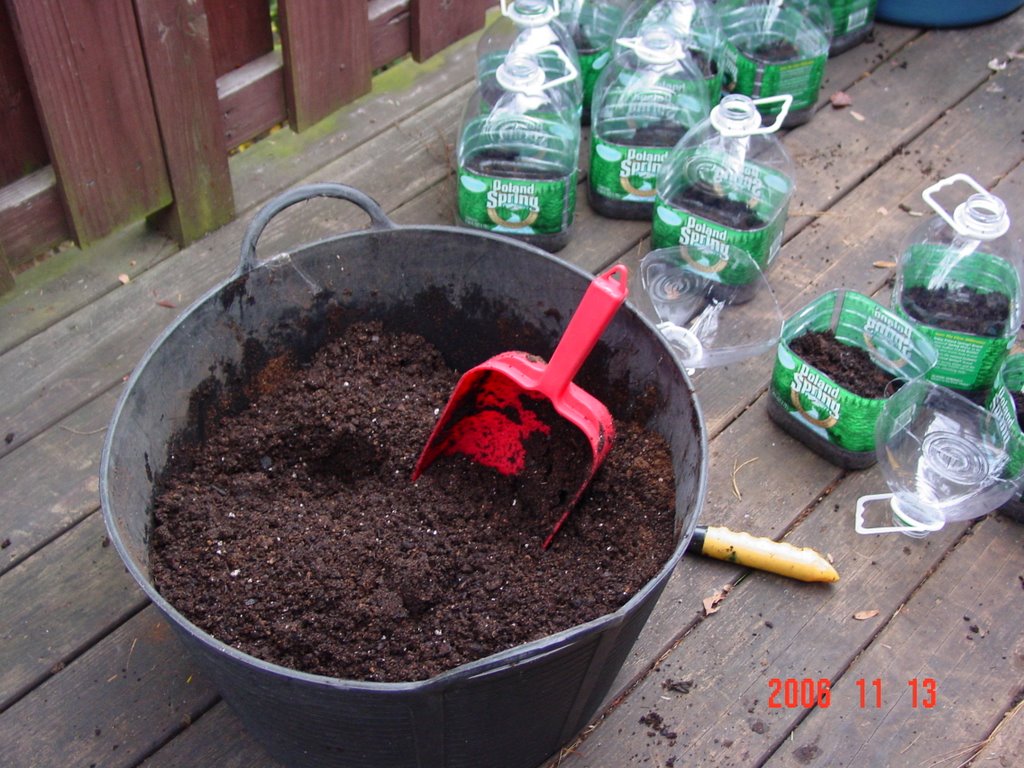


Now here is where the fun begins, mud pies; place some of your mixed soil in a very large bucket or a small one depending on the amount of veggies, flowers or herbs you are going to grow, mix with water until moist and manageable but not so wet that it falls apart in your hand like this:
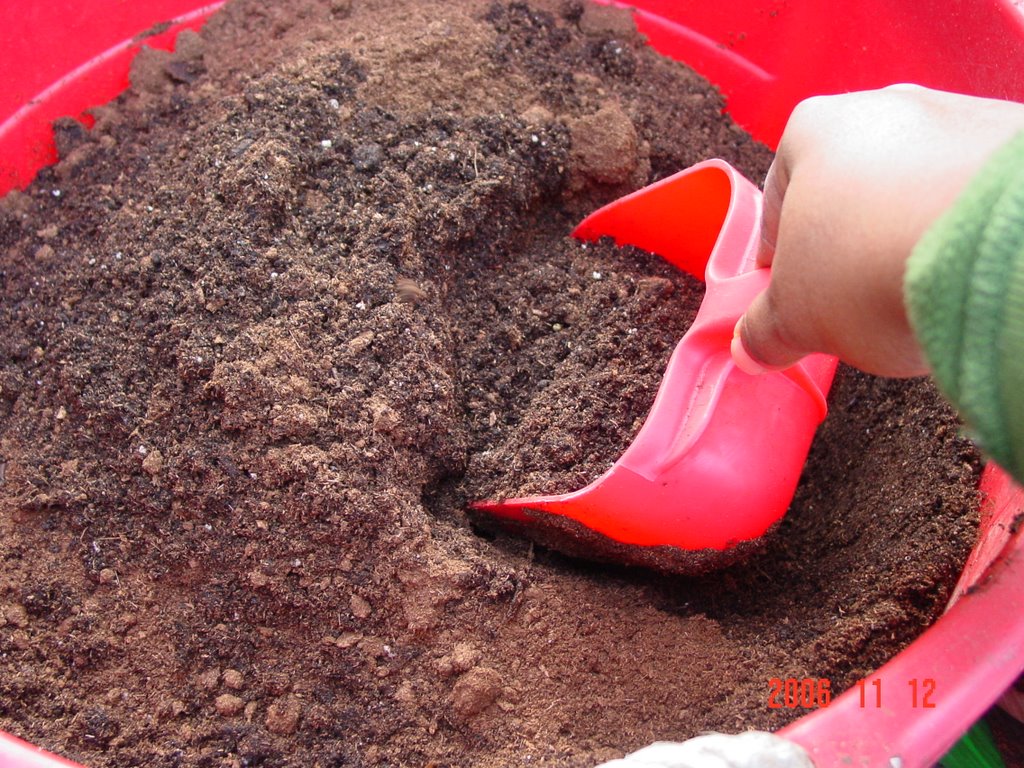
Now place a sizeable mud clump into the bottom of the bottles, about a third to half of the way depending on what you are planting now place aside until you have them all done. This is where a legend comes in handy, you know what you are planting and have an idea of the size of the bottle you want to use. Remember that you won't need a whole lot of seeds, it depends on the size of the bottle you will be using, read the seed packet labels and get a feel for what you need to check for. Crucial, know how much of the flower/vegetable or herb you want to plant; we don't want to crowd them but we do want them to be snug like this.
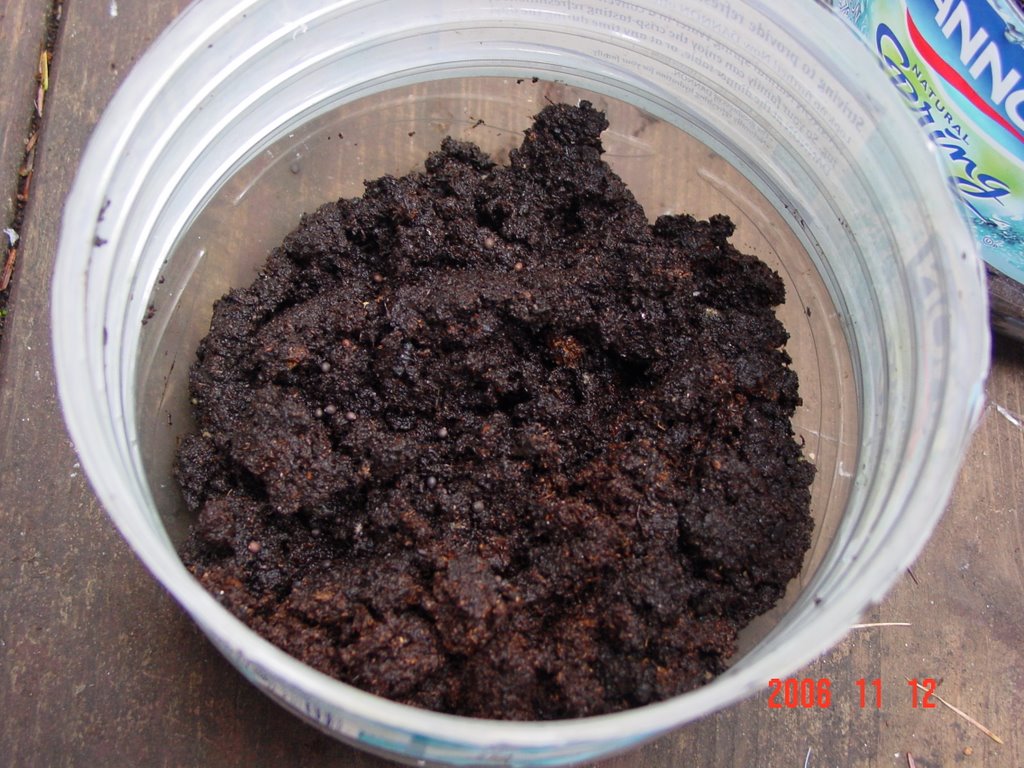
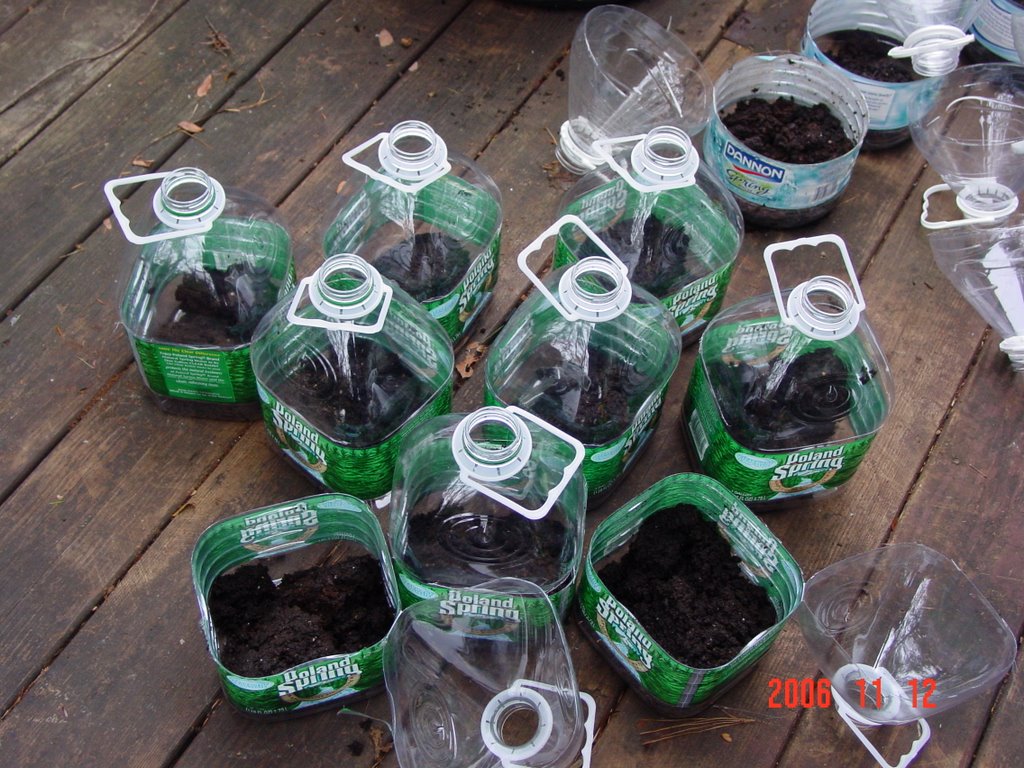

Place them in the bottle like this above right and then give it a number with a sharpie as thick as you can write it, remember it will be outdoors in the elements until the first signs of Spring and you want to know what you have planted so when it comes time to actually place them you know what the plant is and how much room it will require and don't forget to keep a legend so you'll know which number correlates to which plant or where each numbered bottle is positioned just in case the number wears off;do it like this :


Place another clump of loose soil on top of the seeds and seal the bottle like this, you don't want it to be mushy on the top and bottom:
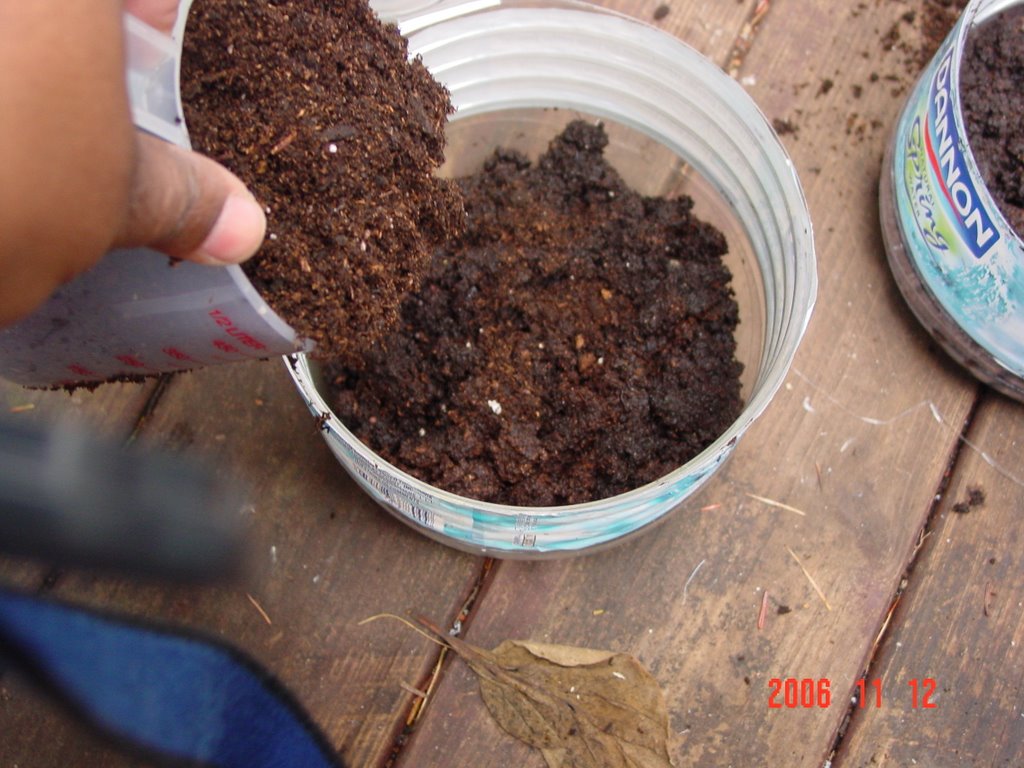


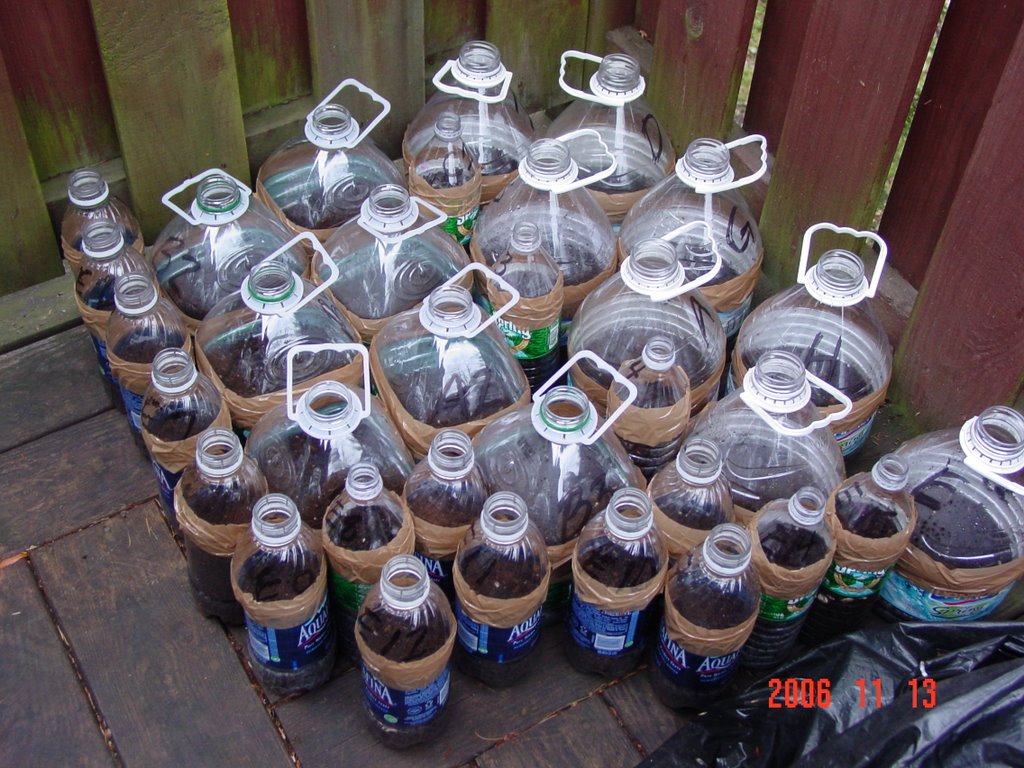
Place the bottles outdoors in a secure area where they won't be disturbed and forget them for the Winter like this:
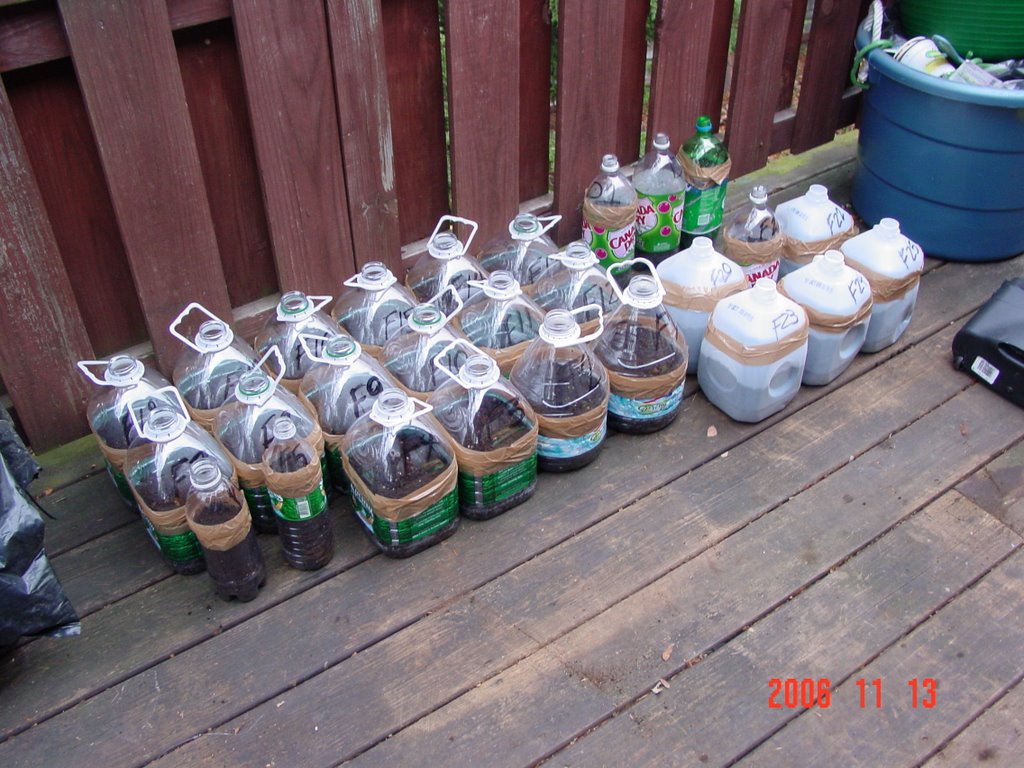
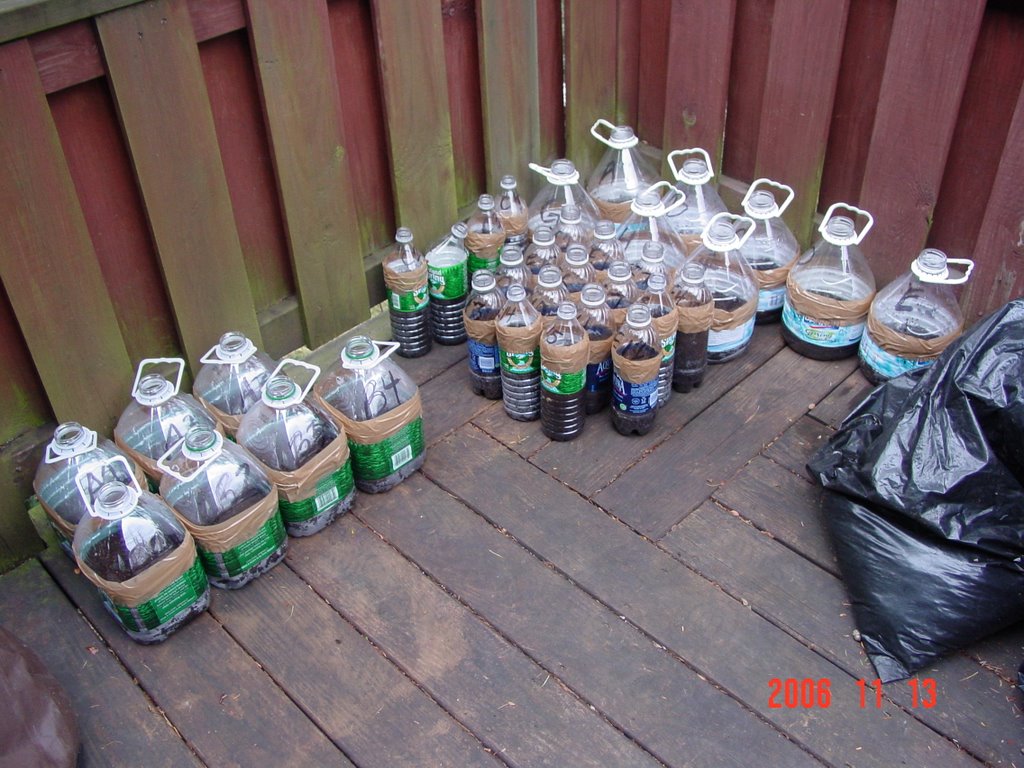


Now for the clean up of my mess, broom and dustpan, it was so much fun...
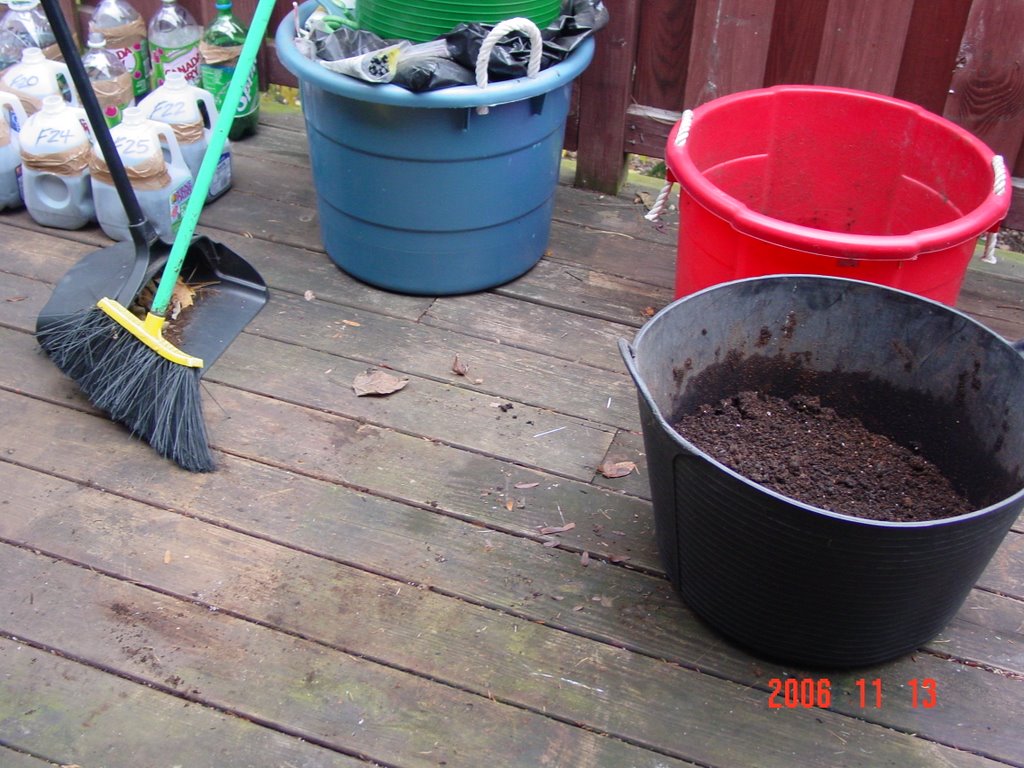


Tada, I will update again when the time is right for you to actually place your little seedling babies in their permanent beds for them to continue growing, until then....


Chow for now

Sunday, September 17, 2006

KNIT OUT 2006, WOW!

Oh my goodness, what a turn out familiars as well as newbies. This years event was extra special for me I actually got an autograph from the author of several books, Yarn Harlot, Knitting Rules and Stephanie Mcfee and a photo shot of me and Lily Chin
Check us out! Way Cool!

I met up with harlempurl my Sensei and we had a ball, I stayed longer than I did the last year that I volunteered to stuff bags, Sensei taught knitting this year, way cool! What a beautiful day it was, I was baking in that sweat shirt the next time I will
knit me something to wear for Knit Out 2007, definitely a shawl and matching cap.

Quite a few of the well known vendors came out for the even and they had lots of goodies to hand out which is always a good thing, nothing like adding to ones supplies; check out the photos.......
Look who showed up!
Check out Sahara in her lovely dress representing knittycity, look at all the lovely items in the background, I will have to talk to her about some patterns and some yarn, definitely go visit her and check out her digs. Oh Yeah!


Sahara getting ready for a photo opportunity.


Look who showed up, Marvelous Marva, My Girl! She is such a wonderful person, so crafty and knowledgeable, she is a true asset to the knitting group. Marva is new at blogging so we have to give her a chance to get it together the way she wants it and then we can comment on all her past and present projects and WIP's. We will check her later.

Here is a great picture of the crew, new to me is Tawana in green top and Rosi G's hand and camera, dang I can't believe I didn't get a photo of her, she is so cool and what a knitter. In purple with glasses is Necia, I am sorry to say that I can't remember her b-log name, I will be updating it later; this sister is multi-talented like Marva, unbelievable the various crafts she has mastered, I am still waiting to sample some of her homemade soap, I guess I should put in an order otherwise she'll never know I want some, my bad! lol I have more photos to post of Knit Out 2006, check them out....

I know, this should have been the first photo I commented on but I was so excited that I actually got the chance to see Lilychin the second time I attended the Knit Out let alone having my photo taken with her that it absolutely had to be first, you know how it is; it was so cool! These are the first arrivals before the huge crowd appeared, what a turn out so many people turned out young and old and there were some men knitting and crocheting, it was really great.


Here is one of my favorite publishing companies Interweave press, they have some of the most exquisite patterns available and now they have a crochet magazine out, it is excellent; a friend purchased a copy and let me parouse through it and you know I had to subscribe to it, it definitely was that good, can't wait to get started; I wish I had two more pairs of hands, boy I would be a knitting/crocheting maniac.

Now here is a sister, Danielle that has it going on, she made these sneakers, not the actual sneaker but she designed them and did the actual knitting, can you imagine the time it took to make all those holes so she could knit, we definitely have to hook up with her so we can broaden our skills, the sister is dynamite, check this out....
This is Danielle, look at the boots she made using fun fur; I think that it's actually a high heel shoe that she made into a boot, like I said the sister has it going on, she is awesome; come to think of it I don't even think she uses a pattern, I am not surprised. We will definite see her again, that I am sure of.


Bernat and Patons were in the house right next to each other and I was told that they are sister companies which is alright with me, as you can see they both were giving away bags with patterns for knitting and crocheting and a skein of fun fur, how cool was that. Next year I will be staying until the actual end because I heard that they were practically throwing away the yarn at the attendees so they wouldn't have to repack it, like I need more yarn; its addictive and I can't help myself. LOL

Now here is a publisher of some really wonderful items both knitting and crocheting not to mention other crafts, I won't mention the amount of their booklets that I have only because I don't know but there are a few of them that I scan through to get some ideas on what I want to create next.


Waiting for the kiddies to arrive, lots of crafts to be created by the newbies to the various creative wonders to be made with yarn. I was so involved with my immediate surroundings that I didn't get a chance to take a photo of the outcome, all chairs were taken and they were having a good time; next year I will be more on point. I will probably add a few more pictures to this b-log later, I just wanted you to get a taste of what a wonderful experience it was for me the second time around and to see how the day progressed. I'll be back!

Chow for now

Thursday, August 31, 2006

A Whole New Topic

Ga Ga Ga Ga, Gardening (LOL) :-)

(Baby Bell Peppers)

Right up my alley, I am a gardening attic as well as other manual type crafty attic which you are aware of; there are others I won't mention right now only so I can talk about my gardening. Well I seriously began gardening in I think it was the Summer of 2003 or 2004, and it has grown enormouly. One of my favorite types of gardening is Winter Sowing. Winter sowing allows your seedlings the opportunity to harden off during the Winter months allowing you to begin planting much earlier than most gardeners and farmers, the process if very simple even something the children will have fun joining in on, there are mud pies to be made and decisions on what you want to plant for the new season and collecting the different empty bottles in preparation.

Here are the steps:

Step 1 - Collect all the empty milk gallon jugs that you can even the 2 litre soda bottles and rinse them out with hot soap and water making sure not to leave any soap residue.

Step 2 - Parents should do this part because of the scissors, at about mid point on the bottles/jugs, cut them open but not completely off.

Step 3 - Parents, punch some draining holes in the bottom of these bottles/jugs so that when the weather changes, the rain/snow will be able to drain directly out of the bottom.

Step 4 - Purchase some quality vegetable/flower growing soil like Miracle Grow, its really great it has all the nutrients the seedlings will need to grow strong.

Step 5 - Let's not forget the non-washable marker you will need to mark each bottle so you know what you have planted and how many of them.

Step 6- You will need to make a Map/Legend of what you are planting and it is also good practice to decide where you want to plant what, height and width of a particular plant is also very important to keep track of and how long it will take for a particular plant to grow to maturity.

Step 7- Let's make some mud pies....Have fun

Step 8 - Seal the jug/bottle with some clear packing tape, believe me it i will hold it all together then place all your jugs/bottle outside the house

Oh yeah, when you make mud pies try not to make it soupy or you will have to keep adding more soil so that your seeds do not fall out so keep it firm but moist. I begin in September just when the weather is beginning to get cool, I will double check with my friend up in Saugerties just to make sure and get back to you.

Most importantly, when you place the bottles in your yard or on the porch like I do, make sure you do not leave the caps on, how else will the rain and snow get into the bottle. (Laugh) That is the whole purpose for puncturing the holes in the bottom of the plastic bottles and leaving the caps off, you don't have to worry about remembering to water your new plants.


Here are some photos of my Garden from 2004 here they are, please feel free to comment and ask as many questions as you like.

Baby Cucumber growing up, isn't it cute? Its own vines support the fruit isn't that just motherly? LOL


Cucumbers and Corn growing together in harmony:

The corn is further from you when looking and the cucumbers are facing you. My mistake was that I was too anxious and I planted them in the same pot.....guess who lost.... the corn. The cucumber are very viney and they strangled the corn once it began to reach 7' tall, no corn and plenty of cucumbers, organic mind you. I will not mix them next time that's for sure.

Wait until you see the Wasp nest that is built every year I grow my garden, my motto is don't bother them and they won't bother you; I have not been stung yet, checked out but that's it; wait until you see the photo

Look at them, get closer; they are busy about their business of establishing a nest for the Queen and their young ones. (Smile) My new tenants, non rent paying bleep bleeps! (LOL)


My first Banana /Bell Peppers, they were delicious and crisp, no pesticides in my garden.


Young Pole beans on the vine:

Some ready for cooking:

More youngins, baby peppers, onions and tomatoes: Okay one more photo and I will stop for now, wait until you see my 2007 garden it is going to be awesome


Directly below, Corn and Gourds taking over my deck, that is one other item that takes over everything, Gourds; whoah! talk about pervasive; I plan on planting some for next years garden for sure.

To the left is the corn that actually grew to about 8' before they were totally strangled by the cucumbers and to the left are the gourd leaves of which I only got one of because I planted too late, those leaves were huge as large as a collard green leave, too bad they were not edible.


Just one more photo and then I will close: My Strawberries, the chipmunks had a ball, I don't even think I tasted one.


Okay now that I have talked a bit about one of my other loves, feel free to ask any questions you like, I will do my best to answer them or find someone who will. Have fun checking out my photos and blah blah.

Chow for now

Wednesday, August 30, 2006

Oooh, The C Word

Hey,

Just checking in to let you know what I have been up to, well I have not been on ebay placing bids for yarn, I definitely have more than enough to last I won't say how long but, I think you can imagine how long once I get to posting the photos of my stash, it will probably leave you all with your mouths open it certainly raises my eyebrows from time to time. (Smile) Well I have been crocheting lately only because I do not want to forget how to so when the young ones ask me how to which they have, I will remember my stuff. Check these out...


As you can see I got a bit carried away with making these bags, the original pattern was for a much smaller version that could probably only fit a cell phone or some keys in, this one you can actually fit a small knitting/crochet project in with a little room to spare.


Here is another photo...

See, nice and roomy but not too big, it can still fit nicely around the wrist. I personally cringe when I hear/see slp sts, yuk; it is entirely possible that there is a better way of doing them which I would like to know but I just do not care for the abrupt disruption in the actual pattern. Yuk!

My Project Bags were done soley in the round; I have been asked to write it down so I will soon actually I have already begun to do so today during our Purls of Hope class. I handed the bags in knowing full well that they will probably be used as small pocketbooks which is also a comforting thought, I am sure they will be appreciated whatever the usage.

I currently am in the middle of two hats, one knitted and the other is part of a crochet-a-long for some of the newbies to crocheting, its really fun being able to show someone a new craft; I like teaching but I don't think about doing it on a regular basis....you never know.


I will try to post more often and let you know what I have been up to, oh yeah, my sewing machine is showing its bobbins if you know what I mean, the nerve! I spoke to Marva and she explained that it was the tension since the bird nesting was directly from the spool of thread, Marva explained that my bobbin should always have enough thread on it before you begin sewing, I will be testing that theory this weekend; I am ready to go...I have cut out my pattern and there is a bag I would like to put a lining in and a few other items I want to try my hand at sooooo I will let you know what my progress is and also post some pictures.

Chow for now

Thursday, August 10, 2006

My Photos Are Freaking Me OUT, What's Up!!!

HELP!

Was that loud enougth, I was able to post two photos the first time before Blogger told me that it had toupdate some files and I thought Imanaged to save my draft of my latest posting but later found that it was lost in the proverbial sauce, now I have one photo and can't seem to upload any others....I decided to b-log with another posting to see if the problem persist so here it goes.....


Beginning the I-cord.


See, that is not funny; the photo came up. Okay let's try another one...


This is so not funny, why now after I had to recreate the posting, what is the dea-li-o? Okay, okay, let's try it one more time:
By the way the hat is slamming I must say so myself, I just love the way the TLC self striping effect displays itself, isn't it just wonderful; I plan on making quite a few of these using some more earthy type tones, watch my smoke fellow knitters..

The final product, it is too cute for words, Maya is going to just love it; she better (laugh)


The Cutesy view, Awww

Alrightythen (I meant to write it that way) now that it is working I will continue with this posting and expound on the first one with my future plans, here goes another photo...

Caron one pound wound into workable balls, how cute it looks all atop each other.


Okay I give up, this is obviously working and I will not fight the funky way it has been treating me so I will show you one more photo and then I will go back to my first draft and blab some more. Here it goes...


This is the biggest ball of yarn I have ever wound up, I didn't even know that my ball winder could hold this much yarn, I think this ball weighed in at about 3. something ounces, its' huge.

Well I have enjoyed this trip down the, "So the photos are playing with my mind" road and I will chat with you all much later, but not that much later, as you can see I like to gab.

Laugh

Chow for now