Friday, June 22, 2007

Now The Fun Starts

Wow, Now it is time to put all the Winter sown seedlings into their new homes for the Spring and there is a lot of work involved but it is well worth it once you see the actual fruits of your labor literally. :o)

Now I have gathered some of the Winter sown seedlings that have survived the Noreaster we experienced this year, it did a lot of damage, I had to replant almost everything.


I mixed some soil and some Sphaghnum moss and prepared my Earthboxes for their new tenants:

Watch as I begin preparing the beds for my green babies ------>

Below is a prepared bed with a strip of vegetable fertilizer to help the little babies grow up strong and healthy and produce an abundance of peppers, squash, tomatoes or squash, etc.

Below I place the cover over the Earthbox and mark the layout for the incisions to be made so that I can insert the little ones so they can begin their growth cycle.


Once I have made my cuts into the cover, I can place the corn, two at a time so that the can support each other as they grow up, I will show you a before and after photo as the corn has grown since it was planted.


See the corn and to the left of it is some squash and in the corner are some peppers, now look below at the same three items:

This is a picture of the peppers in the corner and the squash to the right of it. Here is the corn below.

Wow, look at the corn; its even taller than this now, soon I will have to cut a hole into the netting I placed around this portion of the deck to protect my green children from the critters. Did I tell you about he bat that got caught in the net some time in the night, the photo isn't very clear but I took some other photos with my 35mm camera and as soon as I get the film developed I will show it to you; I freed it and it flew away, it was so cute with its little teeth and long wings, look at it caught in the netting:


Granted the photo is not very clear but I can tell you it was the cutest little thing I have ever seen, you should have heard it screeching as I lifted it up so it could free its wings, he had fangs and everything, way cute! :o)


To the left are my pumpkin babies, I had way too many and I am not certain if they will all grow only because I placed all of them in 5'sq box, not nearly enough room for them to grow properly, I just didn't want them to die and I had nowhere else to place them at the time.


My peppermint before and after, its a perennial and it comes back every year, Thank God; fresh peppermint tea is really delicious.


Now look at my strawberries!
Look below, red cabbage and Brussel sprouts, ummm yum!


Look at the cucumbers they are growing up pretty nicely, I had to place some stakes in the Earthboxe because they began creeping up the netting which eventually the weight of them would have brought the netting down; whew, just in time :o)


I will submit more photos and the garden progresses, for now I will leave you to absorb the wonders of nature taking its course; so cool!
Chow for now







Sunday, November 05, 2006

The Sheep & Wool Festival


Awesome!

Oh my goodness the weather was perfect and the vendors were plenty, a good time was had by all even my husband had fun. Here are a few of the photos I took of the sites that I have seen. Look at the beautiful Llama isn't she gorgeous?

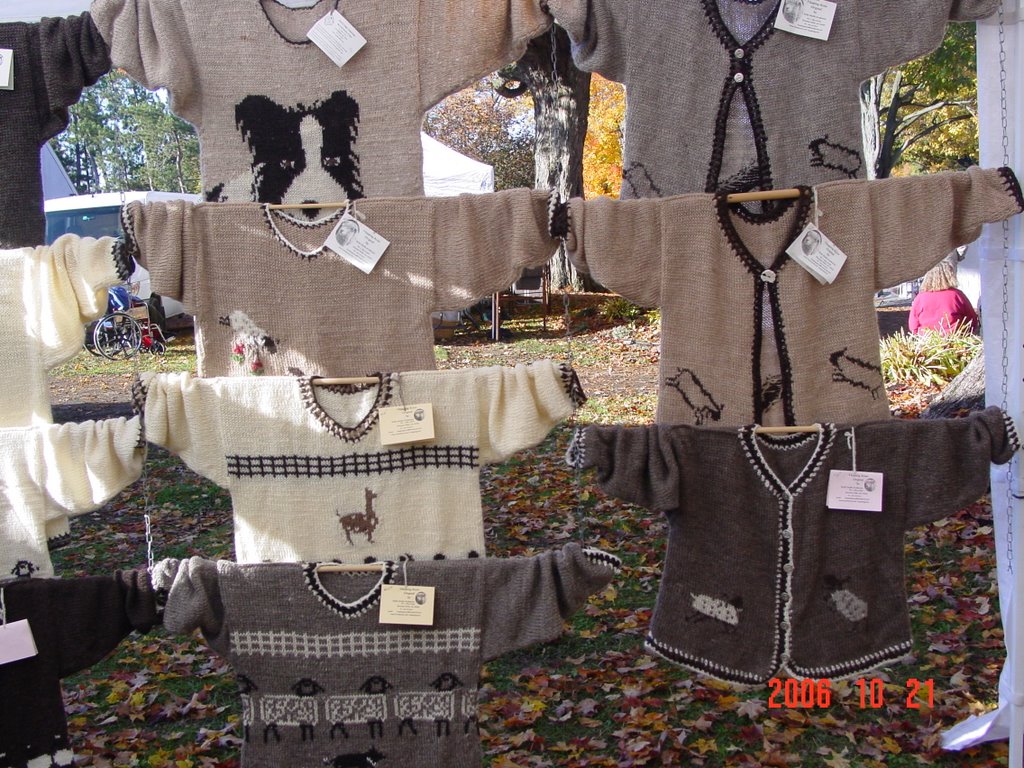
Here is a wonderful selection of felted items from RJ Club Lambs, the vendor was very helpful and in the middle of applying needle felting to a sweater she knitted, it was awesome.


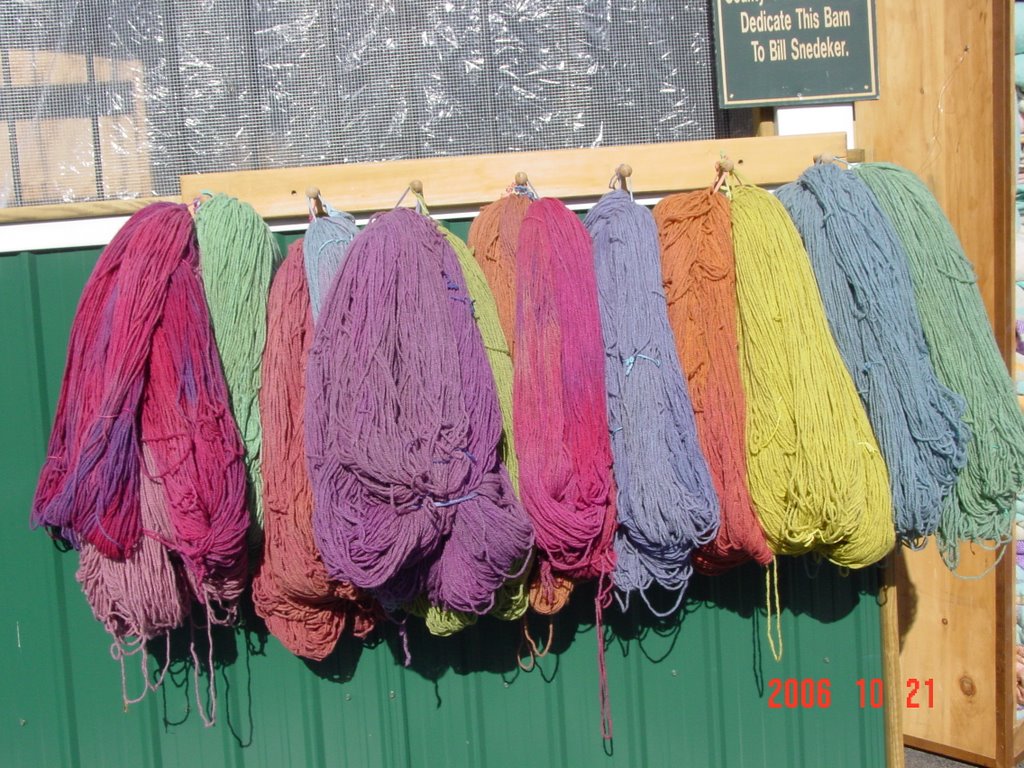
These lovely items are from a friend of RJ Club Lambs, Shadyside Studio Wools, Ms. Arbuckle's small mill really produces some wonderful quality yarn, as soon as I read up on how to attach her site I will; look how colorful everything is. Way Cool!


Here are some more of the items from RJ Club Lambs, look at all the lovely, rich earthy colors... Look at the variety of colors in these hanks below which I didn't check to see if they were for sale but probably were. I just refuse to purchase yarn in any quantity for that matter that I can dye on my own unless it is extra special and speaks to me to be something...

Look at the young Alpacas, aren't they cute? I noticed that they are always in pairs...

Pinned baby Alpaca's they are just so adorable aren't they almost like overgrown dogs but I am sure they are much more sensitive to their surroundings and like I said before they are always in pairs, I will have to find out why that is and when I do I will let you know.

Below is a live auction for the sheep to the bottom left of this photo, wow it was so cool; my first auction, boy did he speak fast, I could barely hear what he was saying once the bidding began. Sorry for the darkness of the photo, I will have to go back into Adobe and fix it and reinsert it into this b-log be patient.


Here are some sheep that were auctioned off and waiting for their trip to their new homes, I met one of the sellers and she had to contain her emotions having raised them from babies, I will have to look up the actual term for baby sheep which I am sure there is one; I will let you know what that is.


Now for the bidding on the goats that provide us with the extra,extra fine fibers Cashmere, and the first goat to be auctioned has entered the bidding circle below... Isn't he gorgeous?


Now here are the other goats that were being auctioned off. I heard that they do not like to walk much and had to physically be dragged out to the center of the floor for showing, it was too funny seeing them put up a fuss while being dragged across the floor. What do you call a bunch of goats, a flock or is that just for sheep, does anyone know?


Look at the bunny rabbits, I didn't get a shot of the note above the cages they were housed in but I think it said that they get silk and something else from them, I can't remember what it said; I will have to do some research on it and get back to you on it.

Here is another photo of the rest of the rabbits on display, they are so fluffy and cute..


I am going to have to check into this because I would like to see what the actual fibers look like when they are gathered and then worked into roving if that is what its worked into. I will post photos later. I found out what it was, Angora. 11/14


Look at Marvelous Marva at the Little Barn where she cleaned up on some great yarn, they had a fairly large selection of yarn and roving on sale in quantity and the line was long, I didn't want to wait but Marva shared. Way cool!

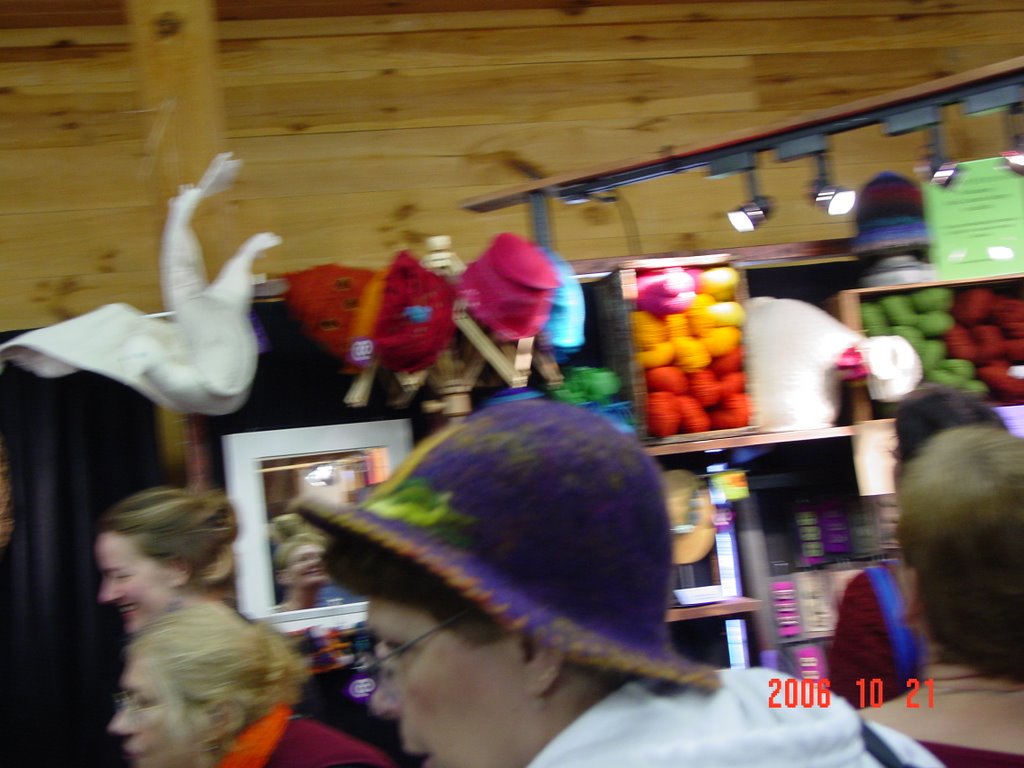
Here are some lovely, colorful items from some of the multitude of vendors on display in one of the lofts of a barn, I didn't get a chance to get any of the names it was so crowded and we were being shuffled along like cattle so I just shuffled along.

Here is another one...

Look at all the colorful yarn in the background of this picture, check out this ladies felted hat, it is really beautiful as all the items were.


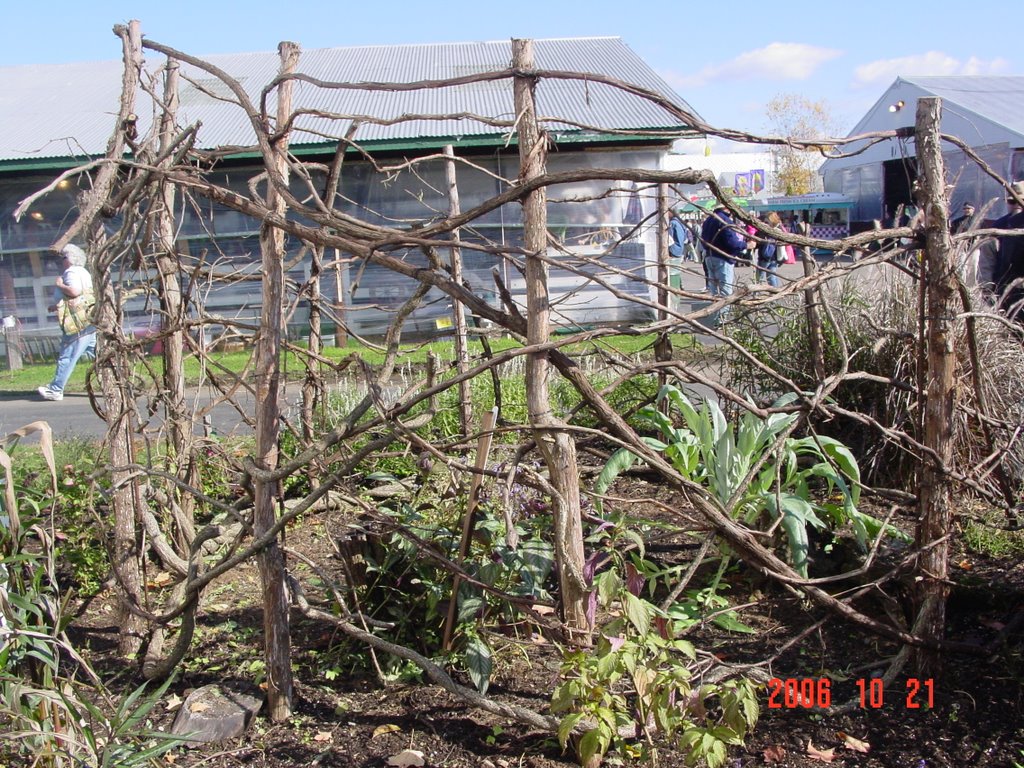
The structure below was very interesting and gave me some ideas for my backyard especially since I have a whole lot of trees not to mention all the surrounding trees in the area that have fallen. I will let you know what I decide to do with this photo of a natural enclosure, lots of possiblities.


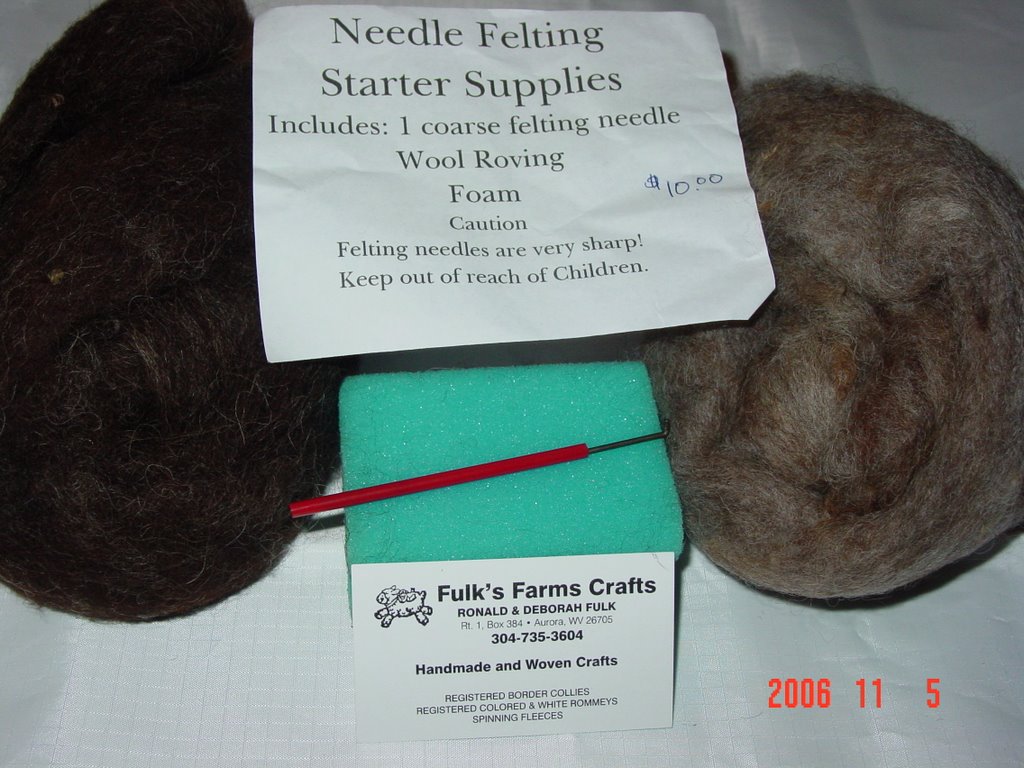
Now what you have been waiting for, I bet you thought I went out of control...(lol) I didn't. Here are the items I purchased, I must admit I was very good, no exceptionally good check it out...


My very first needle felting kit to the left and below some roving for needle felting...take a look at the colors.


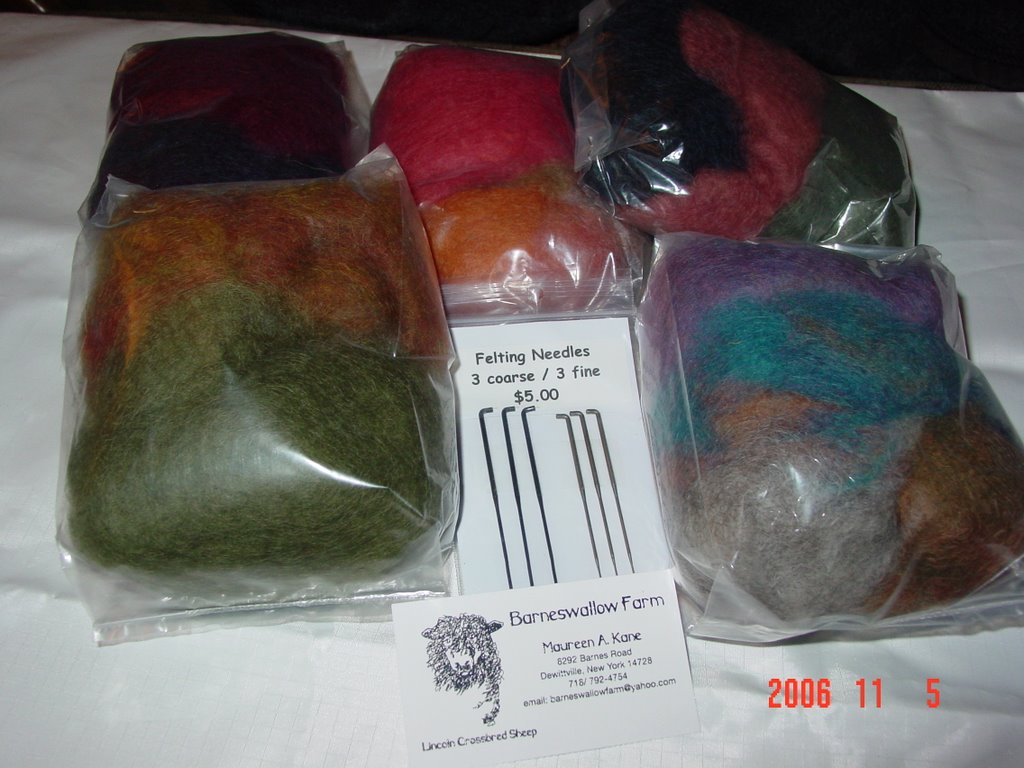
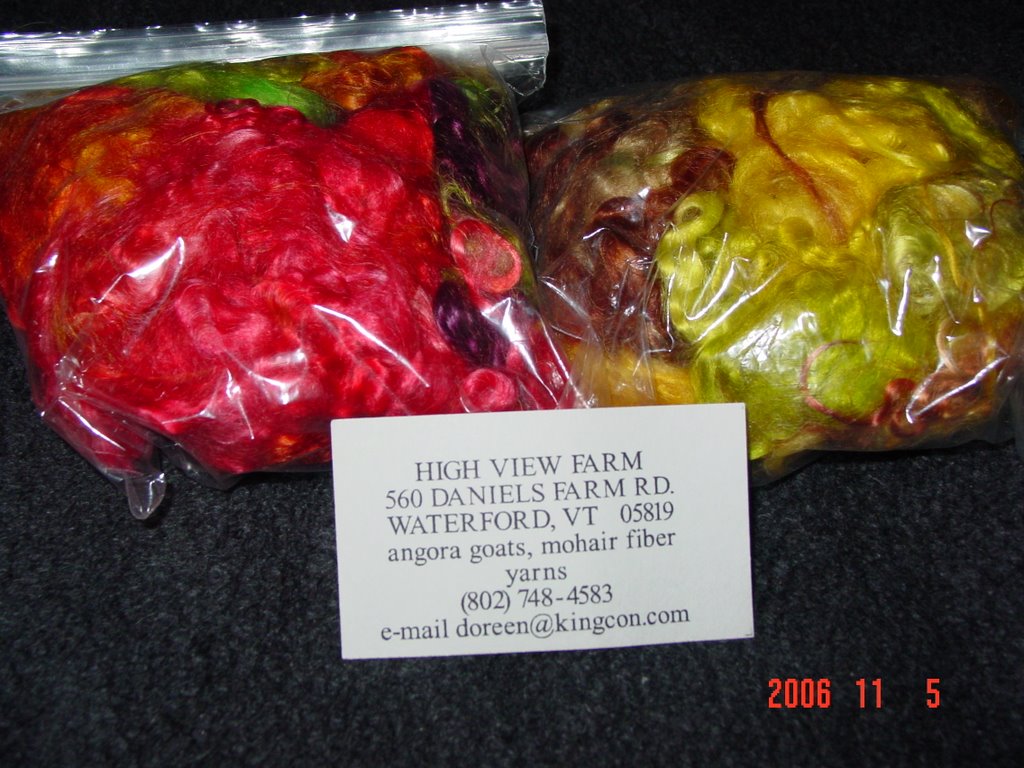
Now for some fancy type roving for needle felting, look at the colors...


Here is another view of this cool curly roving...


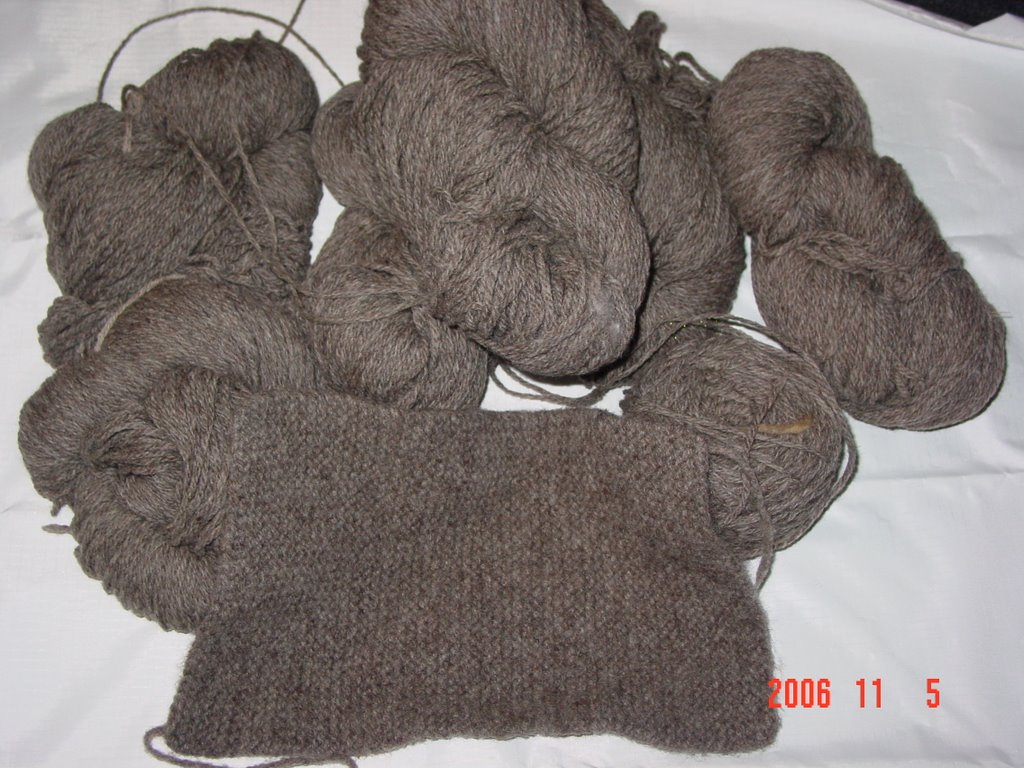
Now for some of the yarn I got at the best price in town and yes, it is wool..


The piece in front is a huge swatch I knitted to see how it felts and its felting but I have to send it through the cycle one or two more times before it gets to where I want it to be. You won't believe how much I paid for each hank, give up.....$2.00 a hank; I know, unbelievable. I will be prepared for next years festival that's for sure (LOL)

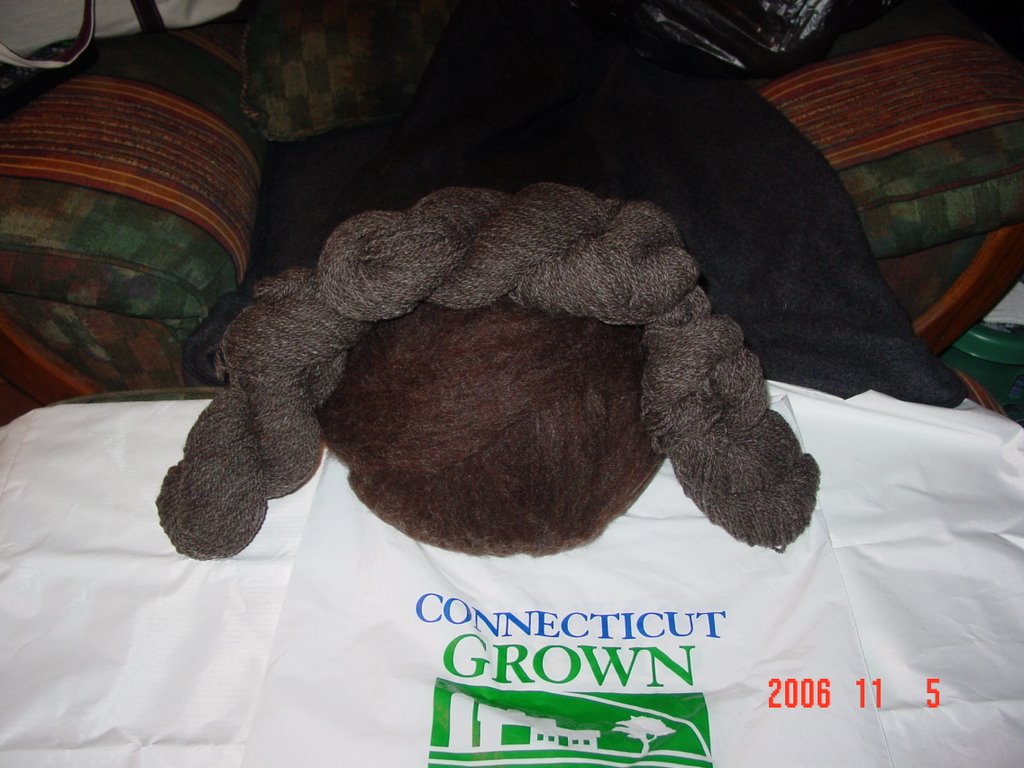
Now here is some wool I purchased in Roving as well as some already spun and it is beautiful, can't wait to work with it; I am thinking about a hat, gloves and a scarf and maybe some socks...hey.

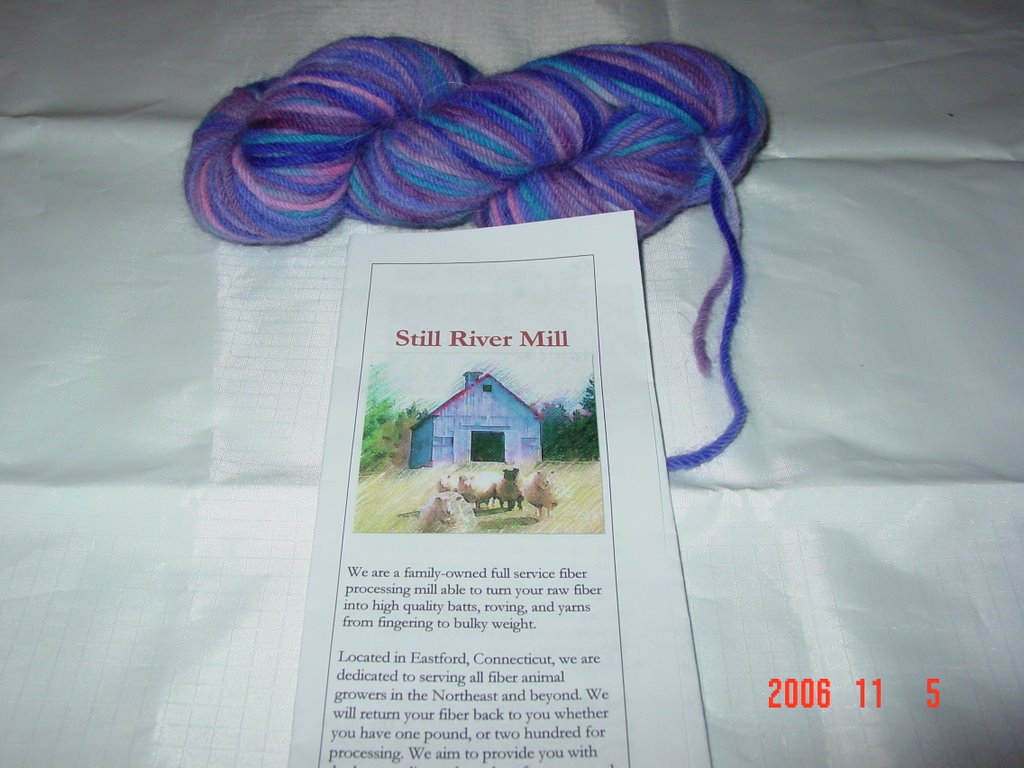
Here is one of my most favorite purchases, yarn made from a Samoan dogs hair, the lady said that one skein would make a hat that she had on display and she even gave me the pattern, I will test it and post the results and the pattern if anyone requests it. Here is another view... Yes it is as soft as it looks.


Now you know I could not resist this when I saw it, I will be placing it on top of my plates real soon; baby its cold outside. Brrrrr...
It is so cool don't you think?

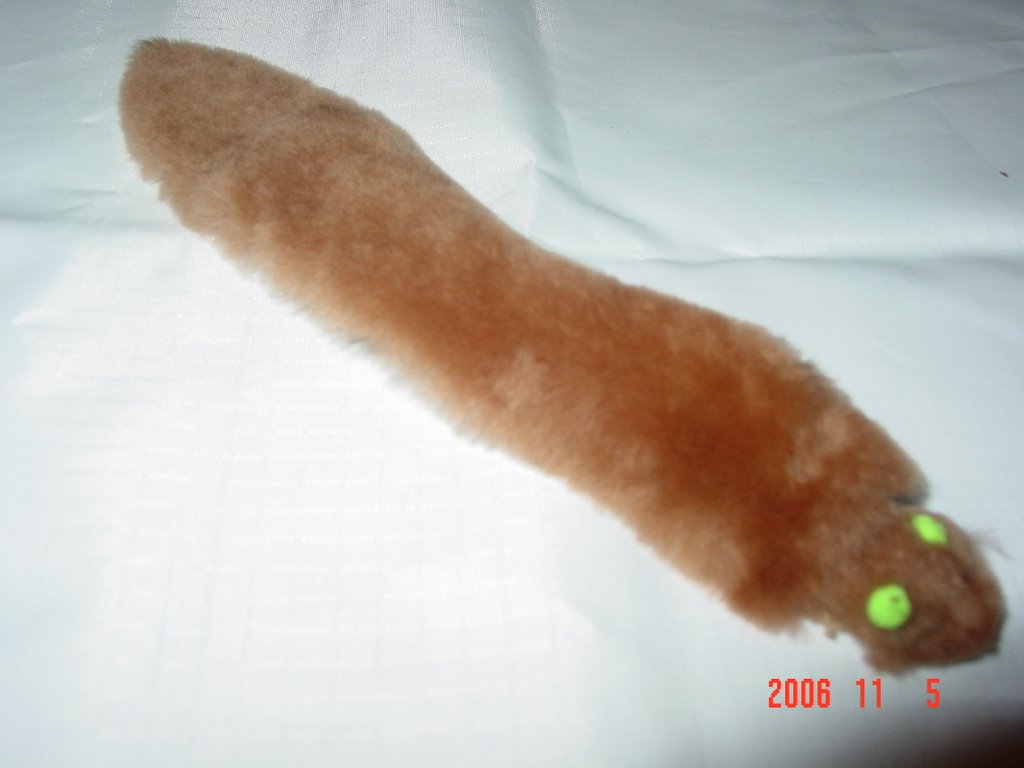
I picked this up at one of the vendors booths that was selling shearling slippers and inserts, its my little snake; very soft.


Finally, a farewell to all the furry animals that made it possible for us to be creative in a multitude of ways.
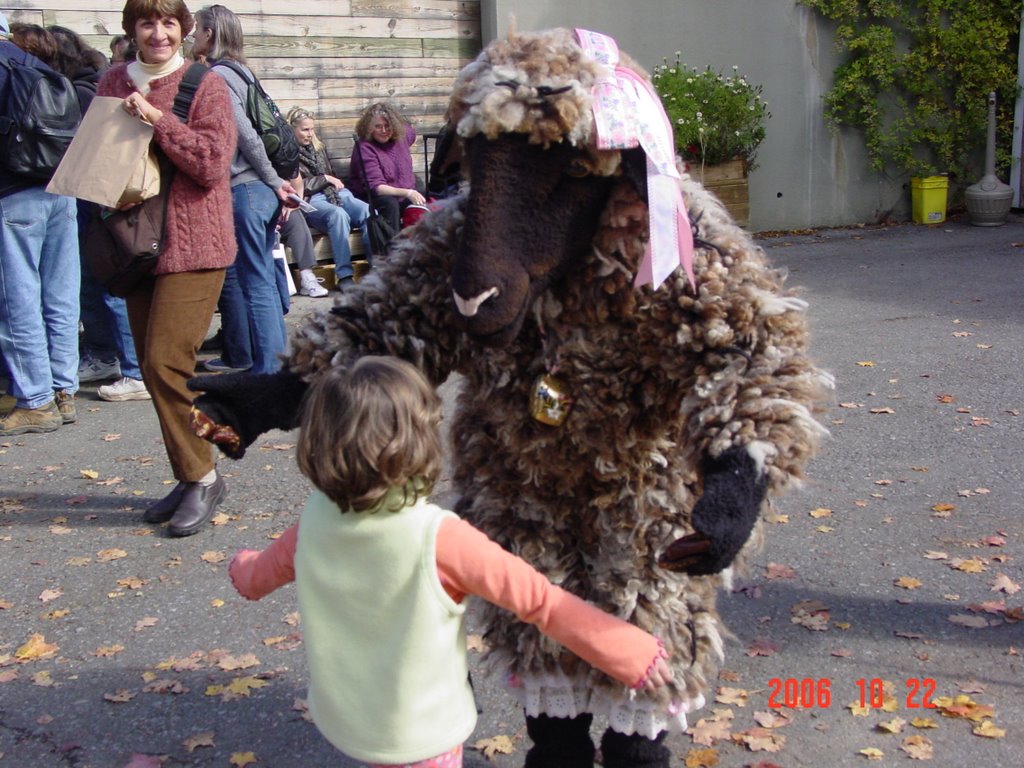
Bye little sheep, give me a big hug and I will see you next year...


So this is the great time I had at the 34th Annual NYS Sheep & Wool Festival and Family Fun Day, can't wait until next year; I most definitely will be prepared to visit all the other vendors I missed this year. We all managed to enjoy ourselves tremendously and the weather held out nicely. To my fellow knitting sisters and brothers (chuckle) (it's all good) (Smile) that I didn't get a chance to see, enjoy my experience at the festival through my photos and I hope to catch up to you next year, until then...


Chow for now

Friday, October 06, 2006

Sow and Sew

Well hello again,


It is time to begin preparing for the Winter garden and I am very excited about it this year because this will be my biggest garden ever; looking forward I see a Green house being built in my back yard, there is definitely enough space to do it and I can get creative as I usually do.
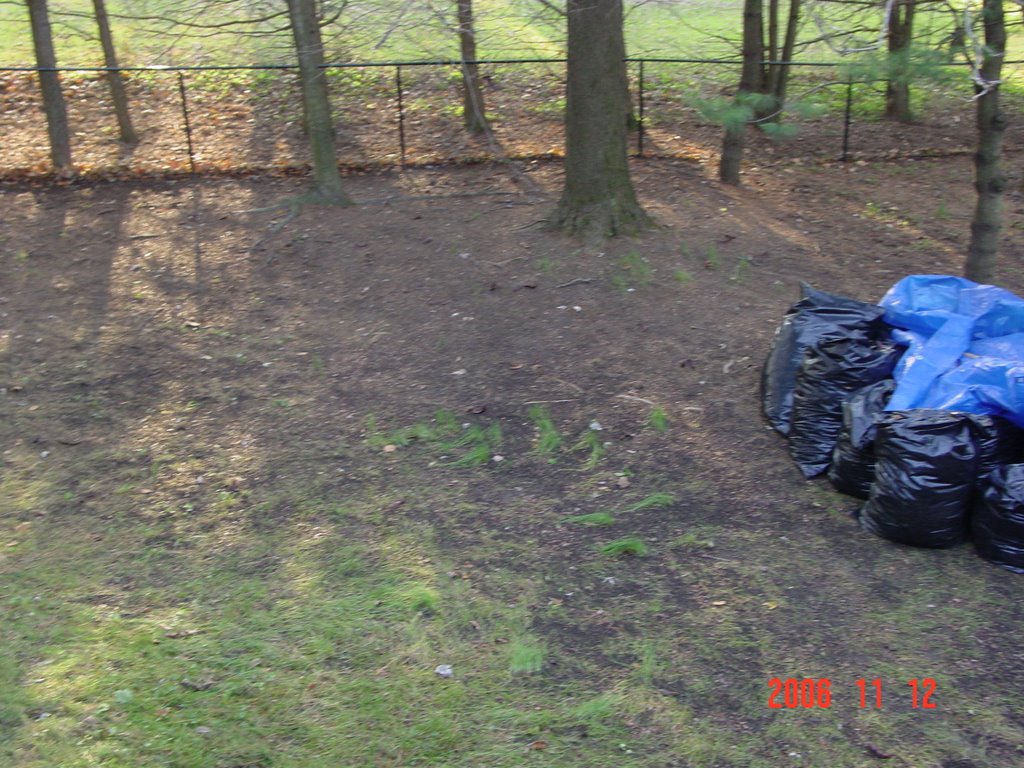
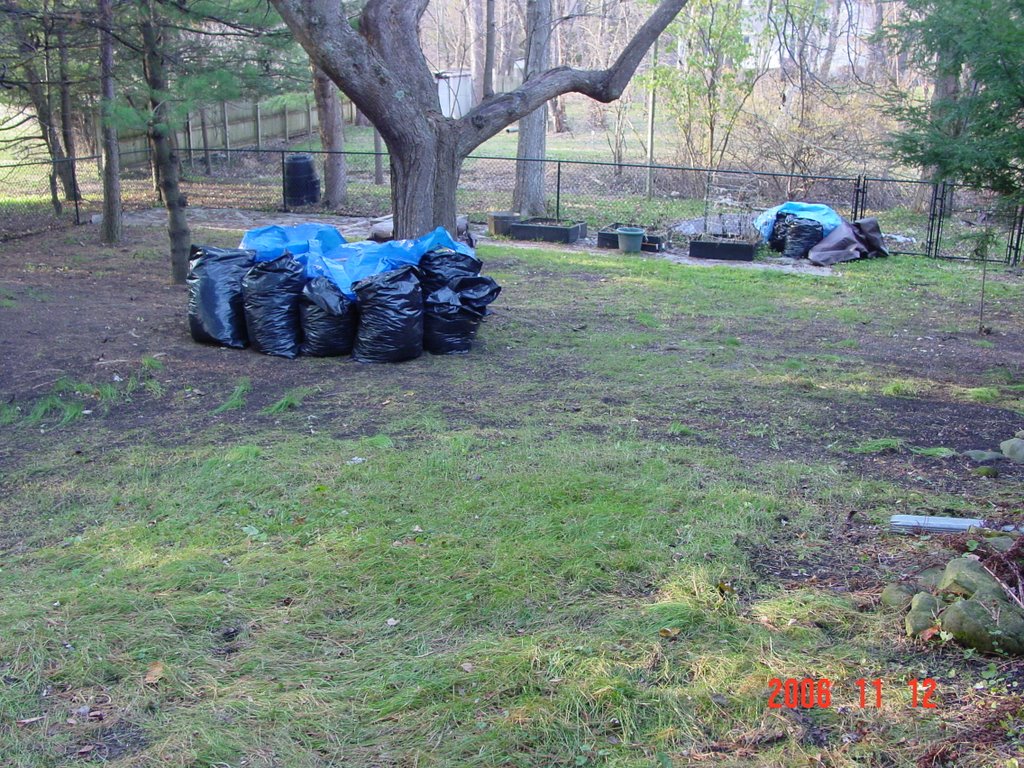
I started cleaning up outdoors so tomorrow I will hit the backyard where next years garden will be placed; lots of work to be done but I am looking forward to it, definitely worthwhile. I got into cleaning up the backyard and forgot to take the before photos so here are the after photos along with the 22 bags of leaves and yard matter I bagged, boy do my feet hurt; 4 plus straight hours of raking and bagging, raking and bagging.


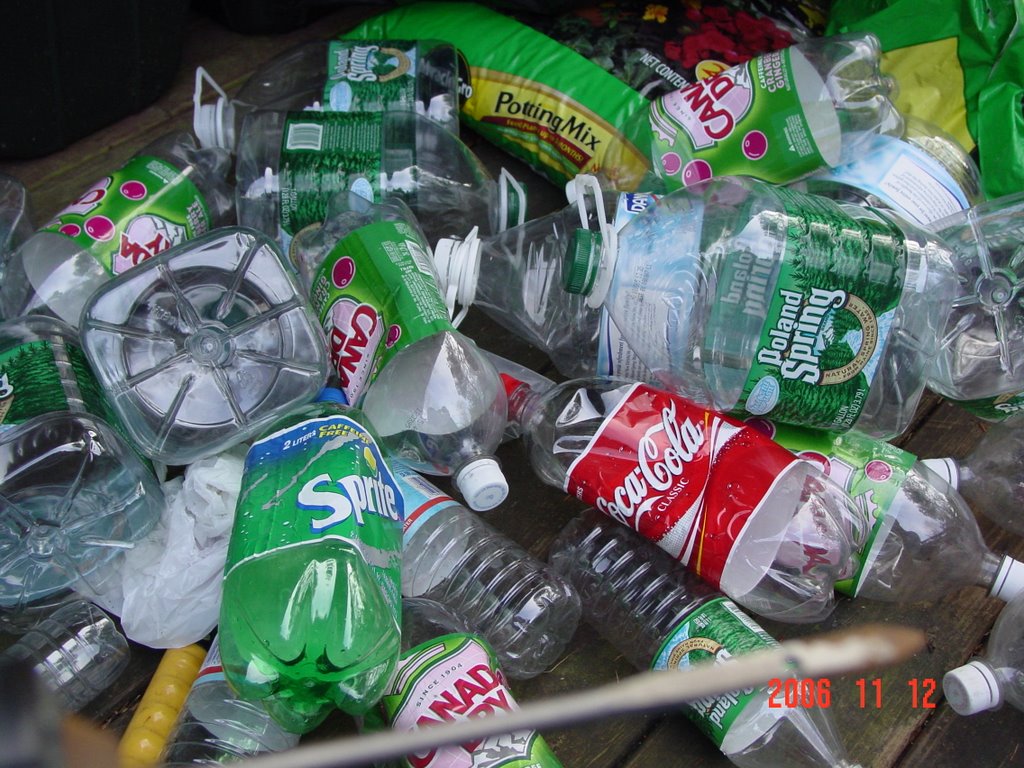
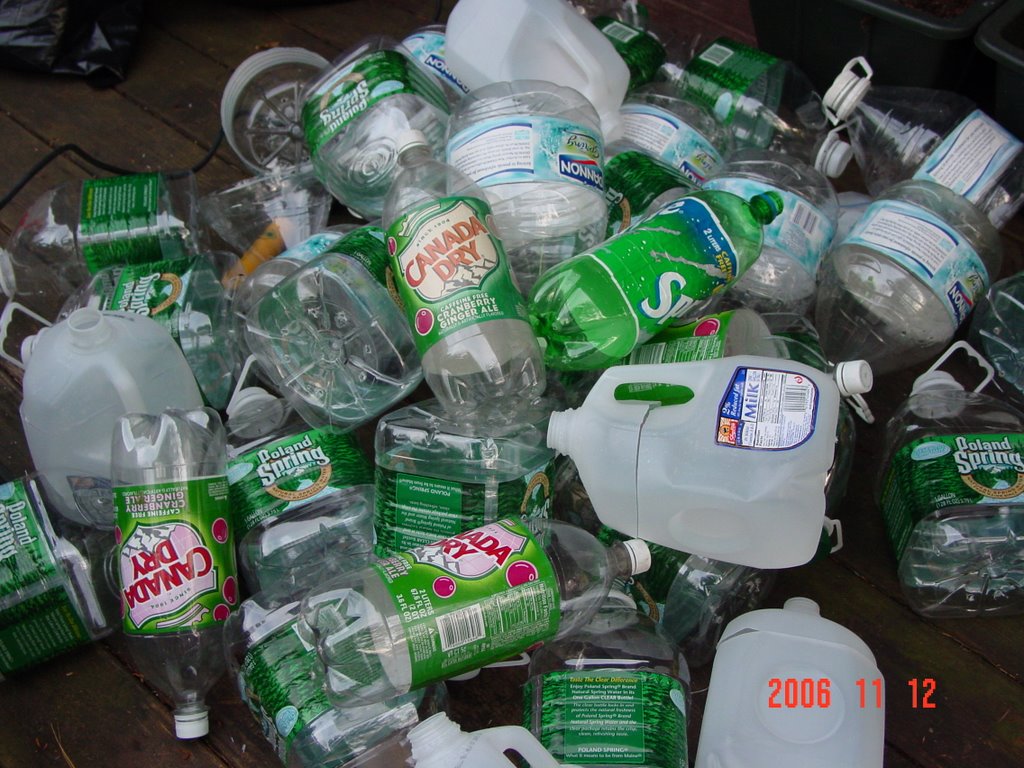
Now, here is what you all have been waiting for; how to start your Winter sowing: Gather your bottles, throw away all the caps and make sure your bottles are all clean; do not use harsh liquid detergents to clean them and make sure there is no cleansing residue, so rinse well.


You will need these things:


As you can see I have an assortment of bottles in different shapes and sizes with designs on what will go in each bottle. The smaller bottles will have herbs and the soda bottles will have flowers and so forth and so on.


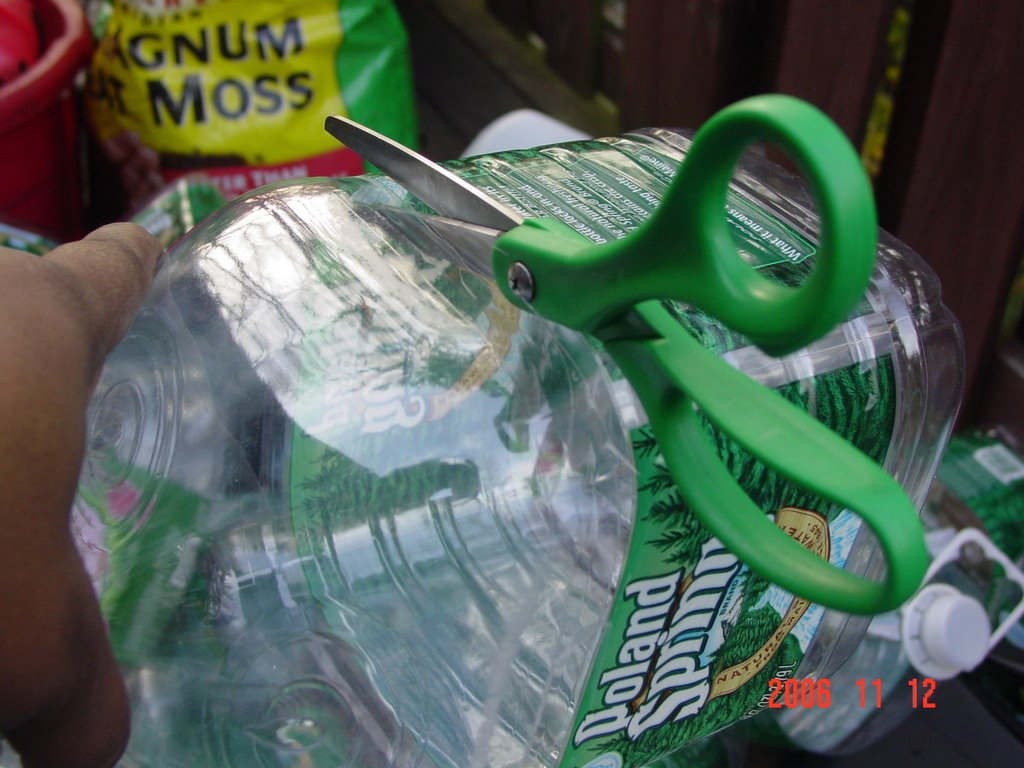
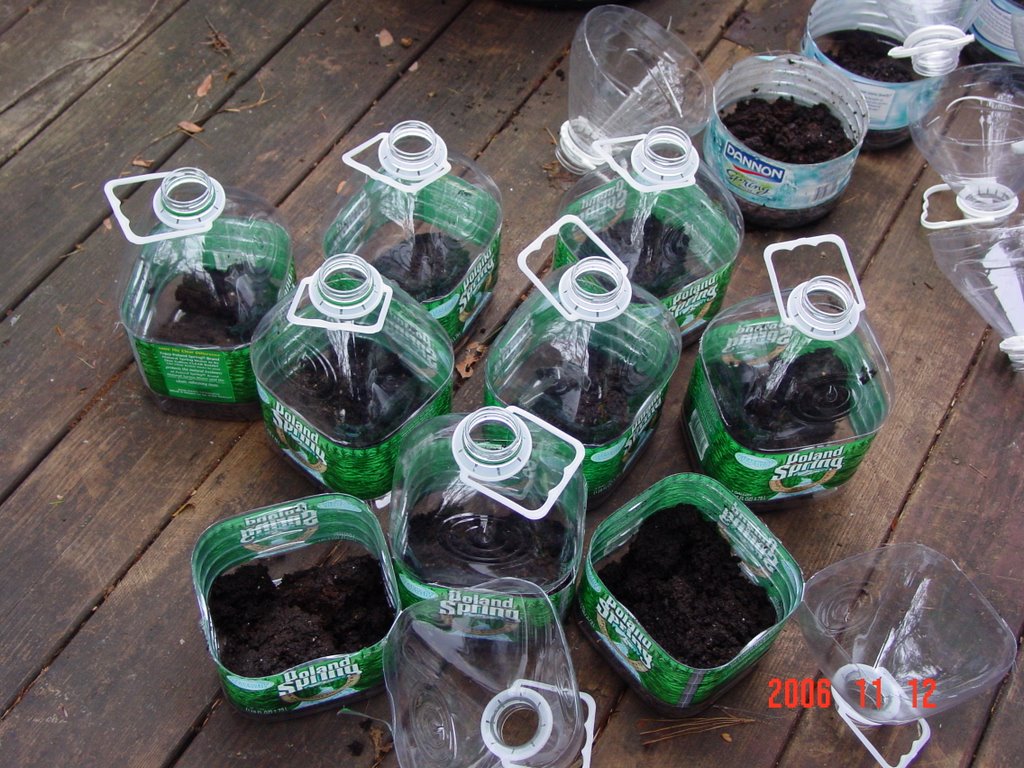
Now open all the bottles this way, use scissors and don't cut too low, like this:


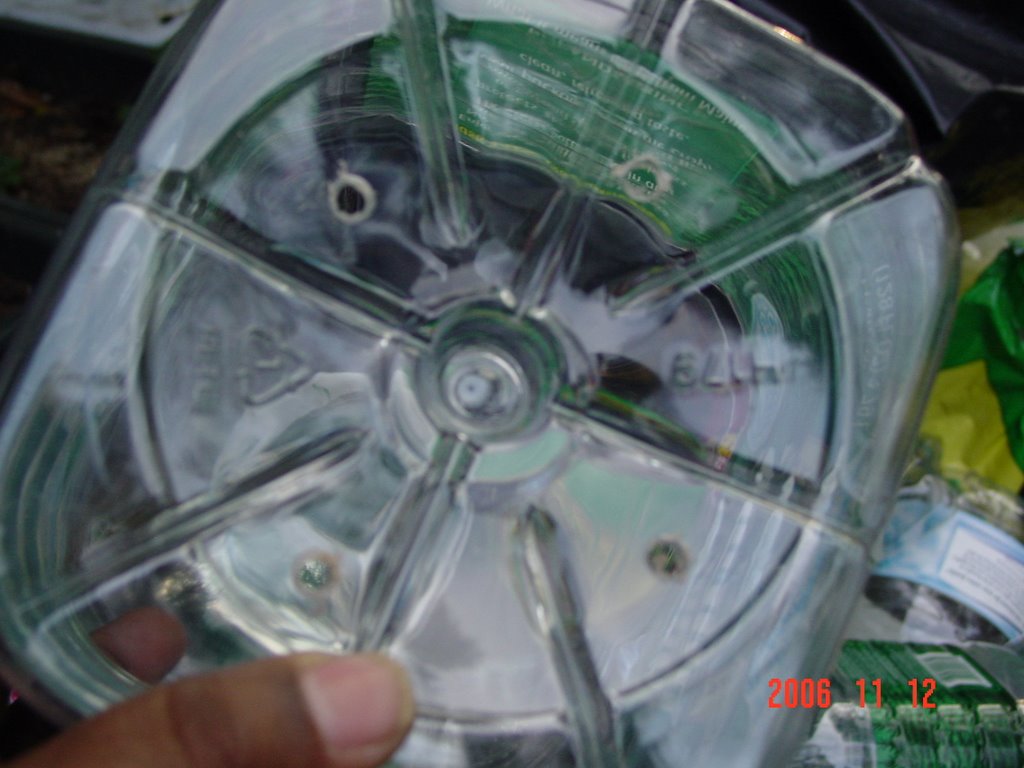
Make draining holes in the bottom of each bottle like this:


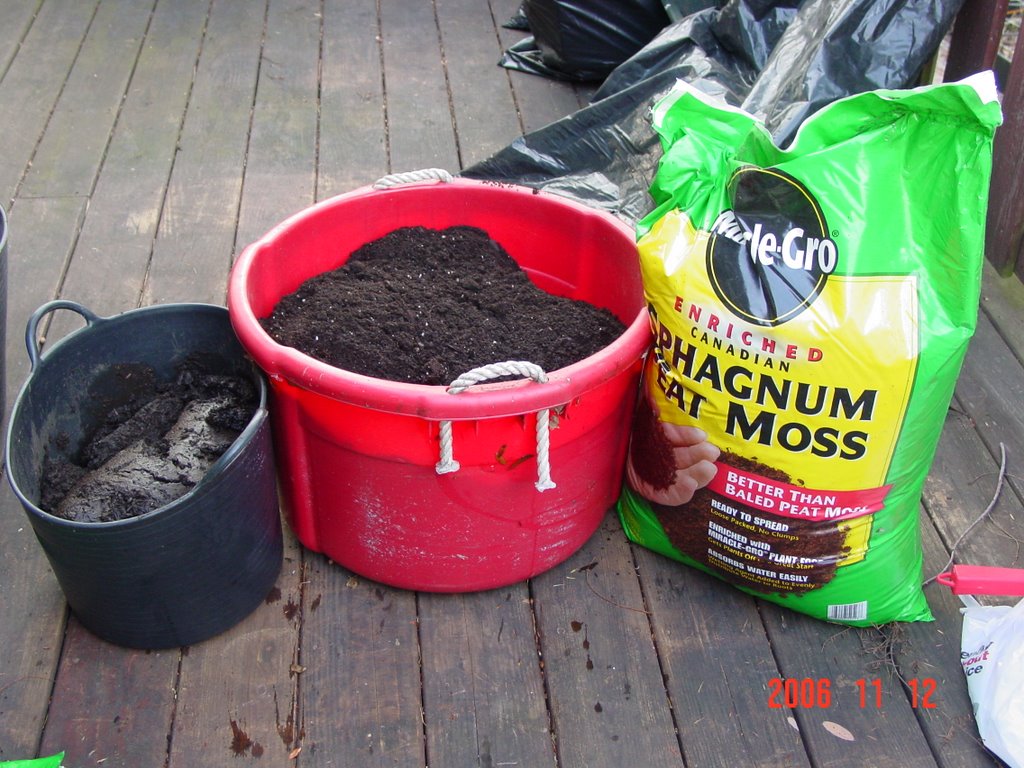
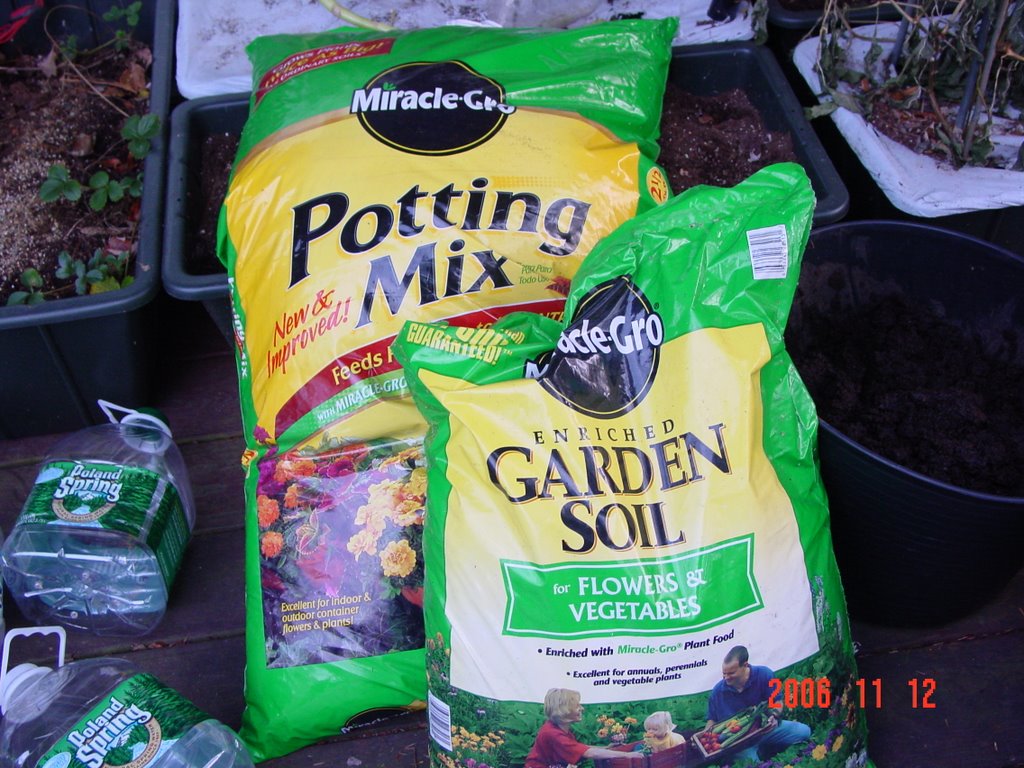
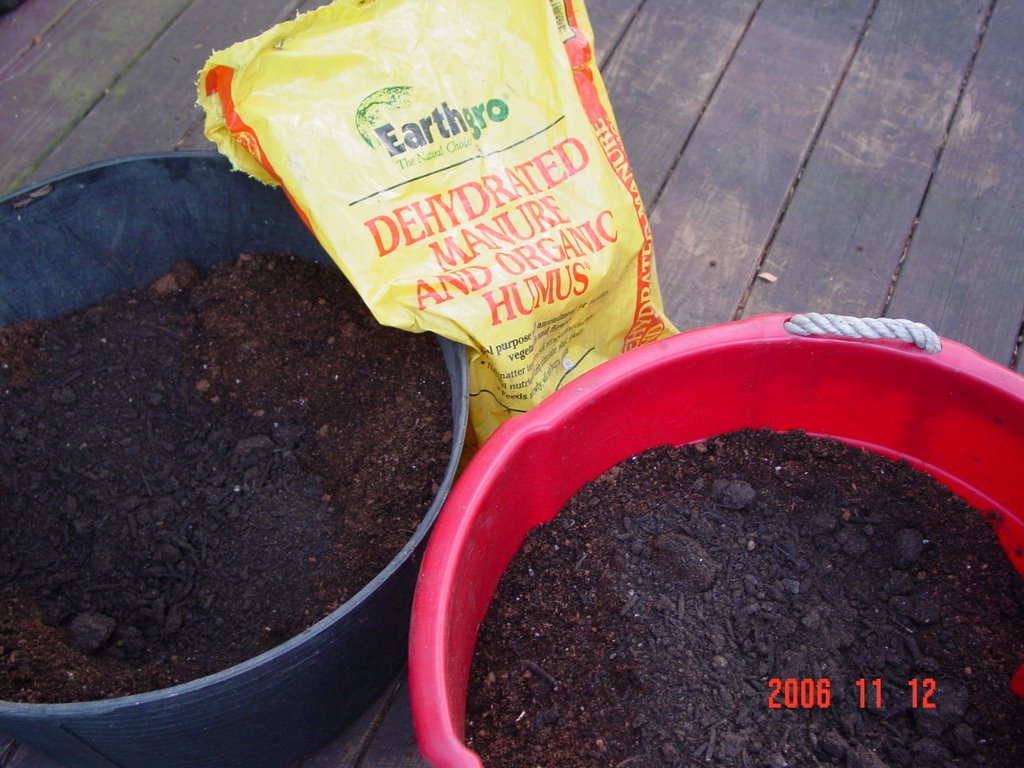
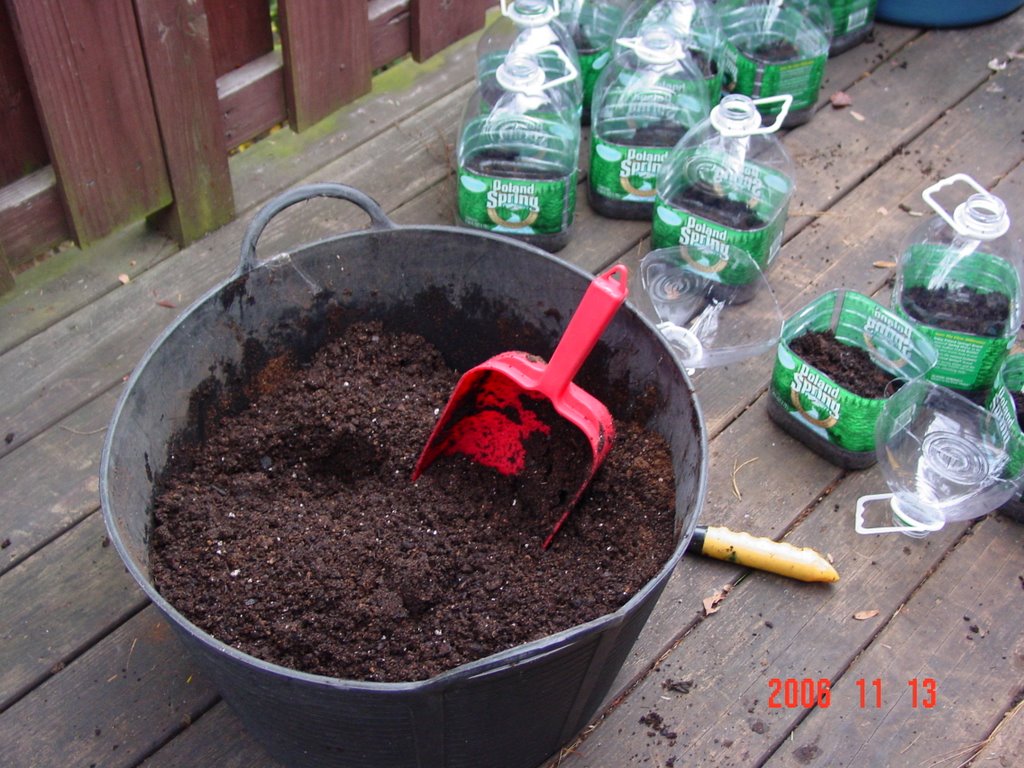
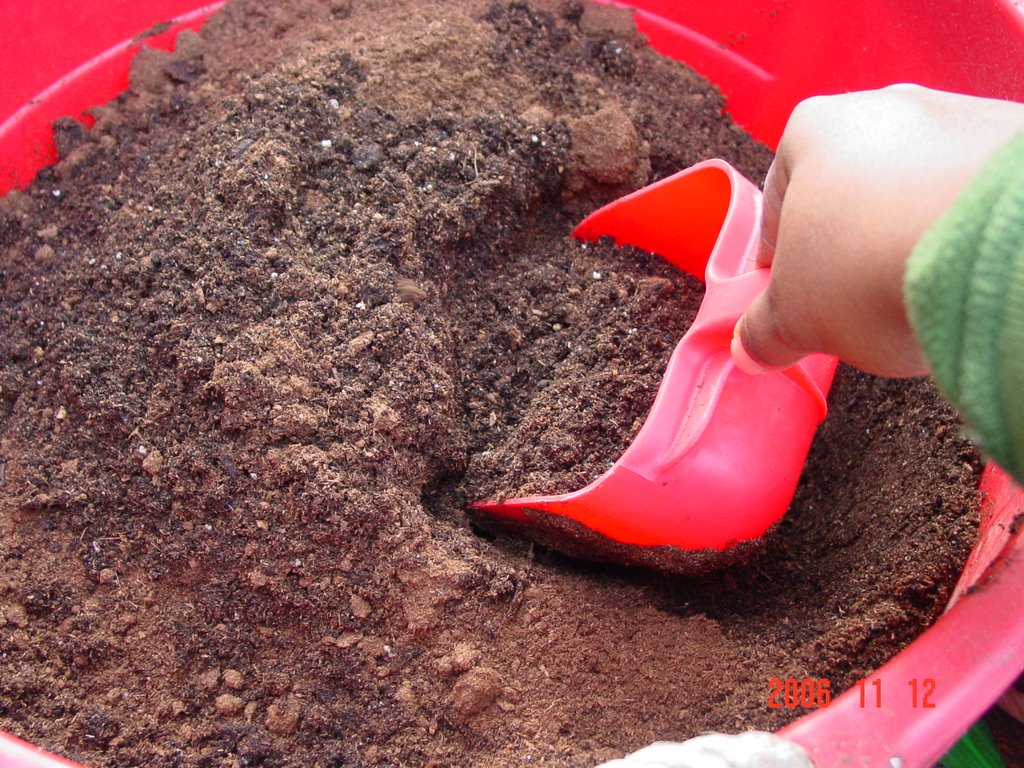
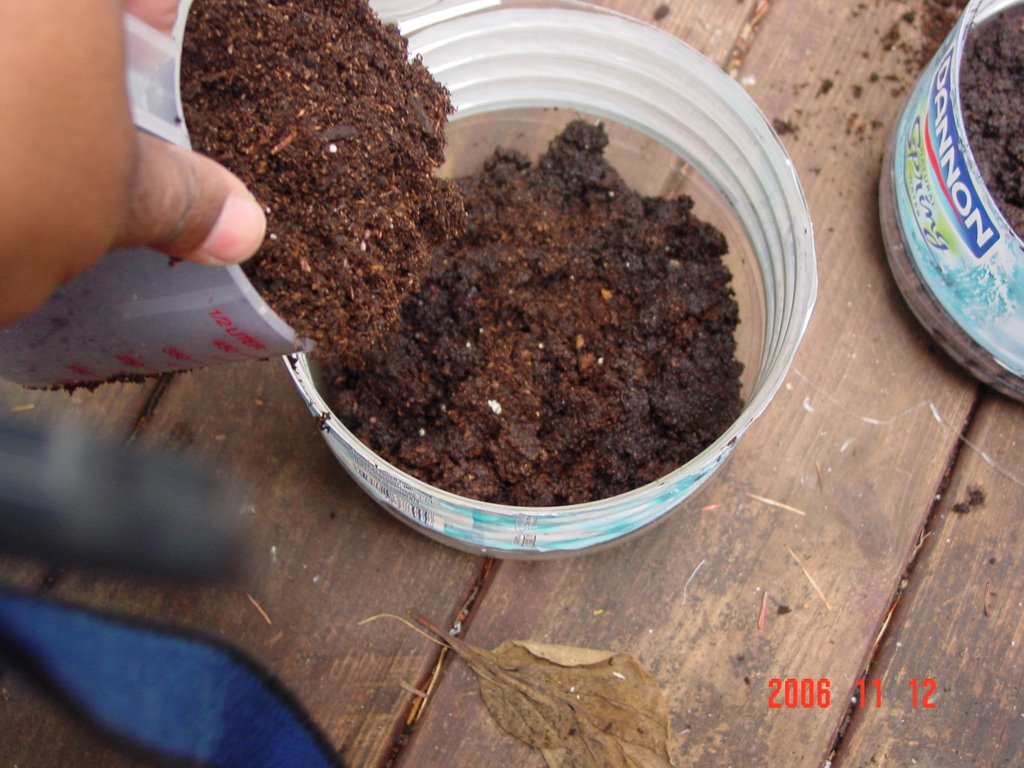
Now to prepare my soil; I always use Miracle Grow for plants and vegetables its the best. I add a bit of manure and some sphagnum moss to lighten it up a bit so that the soil isn't real heavy for my seeds, good for aeration see:


If you don't have the manure or the sphagnum moss, its okay you are using the best soil for what you are doing.


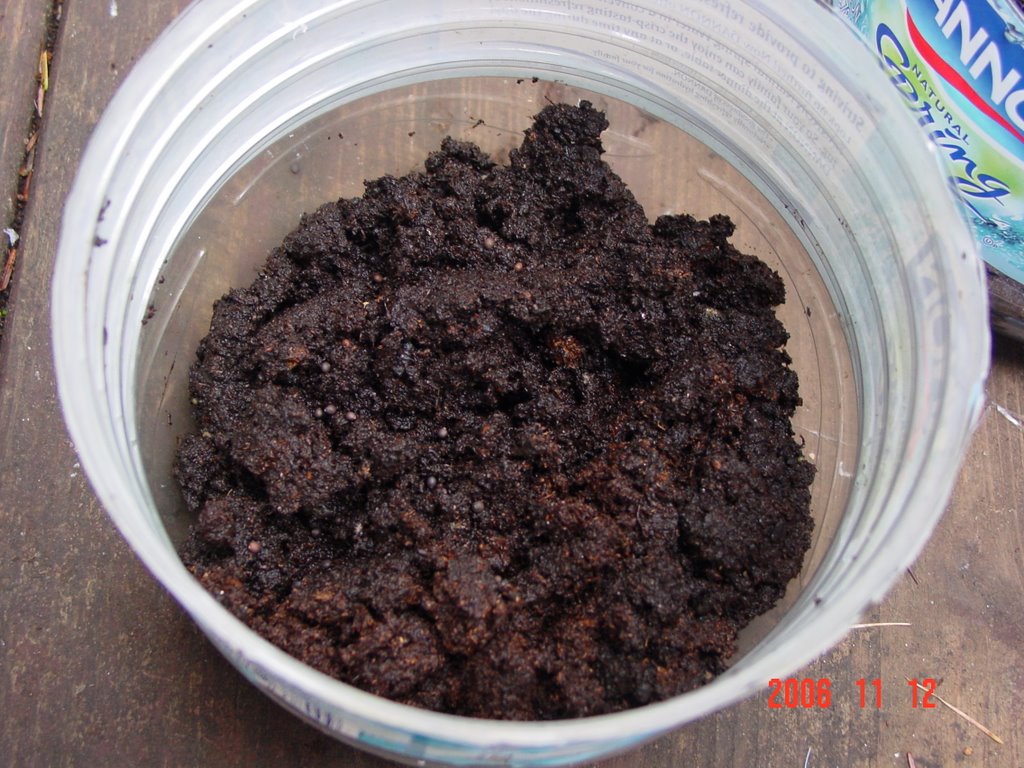
Now here is where the fun begins, mud pies; place some of your mixed soil in a very large bucket or a small one depending on the amount of veggies, flowers or herbs you are going to grow, mix with water until moist and manageable but not so wet that it falls apart in your hand like this:

Now place a sizeable mud clump into the bottom of the bottles, about a third to half of the way depending on what you are planting now place aside until you have them all done. This is where a legend comes in handy, you know what you are planting and have an idea of the size of the bottle you want to use. Remember that you won't need a whole lot of seeds, it depends on the size of the bottle you will be using, read the seed packet labels and get a feel for what you need to check for. Crucial, know how much of the flower/vegetable or herb you want to plant; we don't want to crowd them but we do want them to be snug like this.


Place them in the bottle like this above right and then give it a number with a sharpie as thick as you can write it, remember it will be outdoors in the elements until the first signs of Spring and you want to know what you have planted so when it comes time to actually place them you know what the plant is and how much room it will require and don't forget to keep a legend so you'll know which number correlates to which plant or where each numbered bottle is positioned just in case the number wears off;do it like this :


Place another clump of loose soil on top of the seeds and seal the bottle like this, you don't want it to be mushy on the top and bottom:


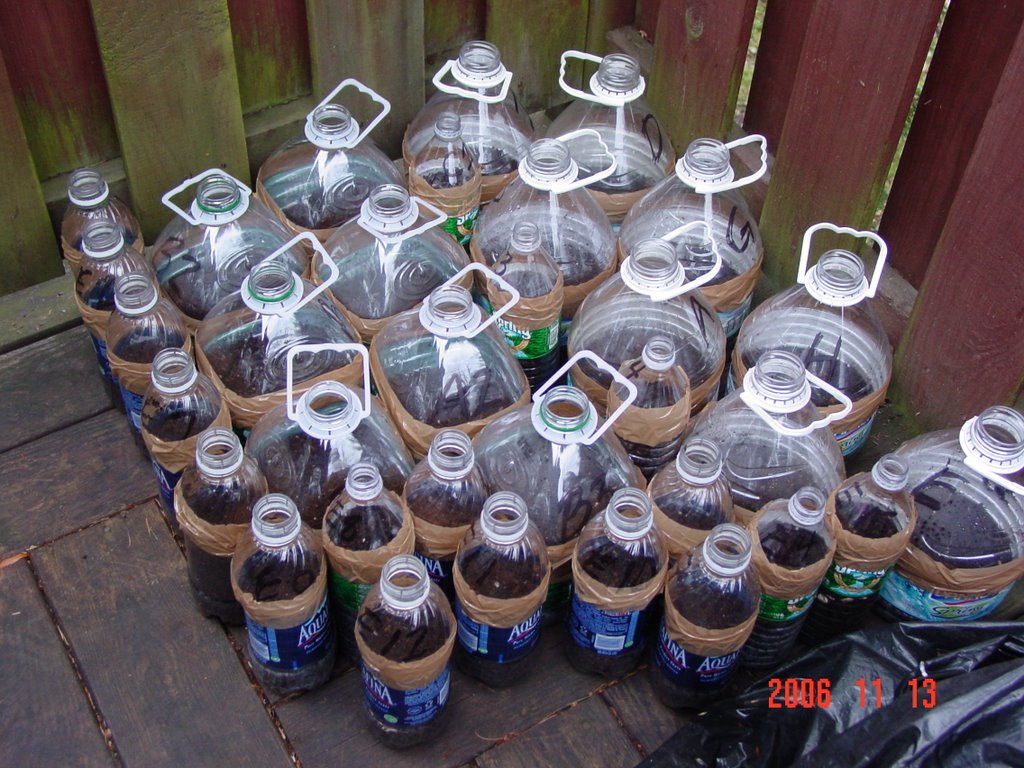
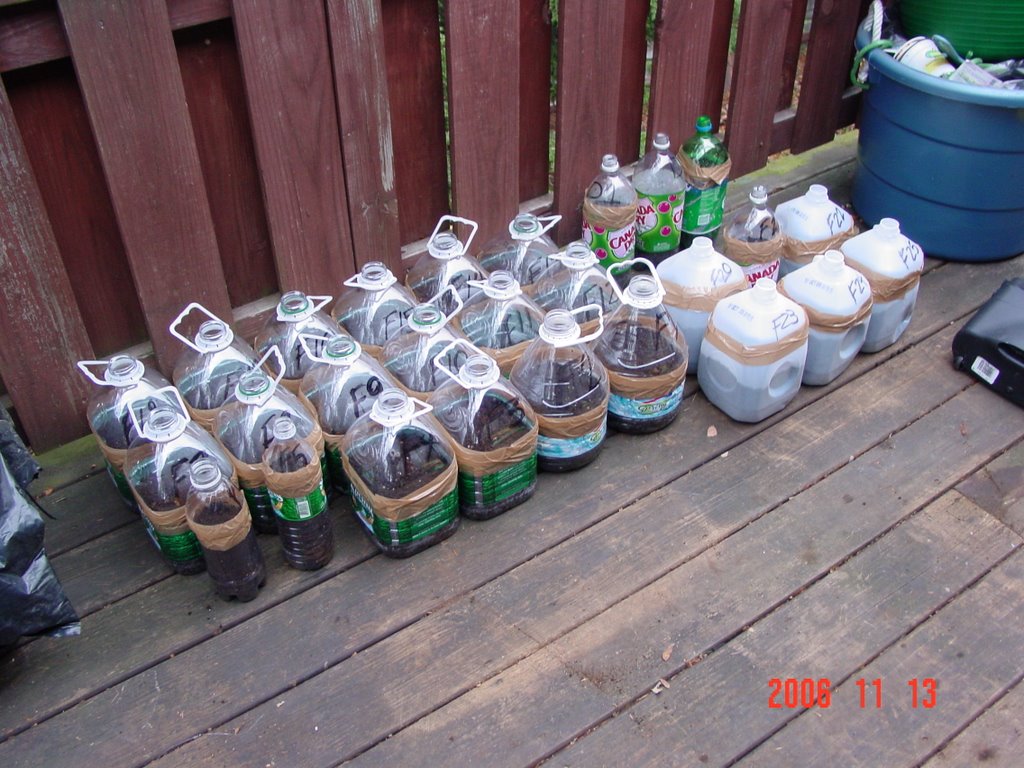
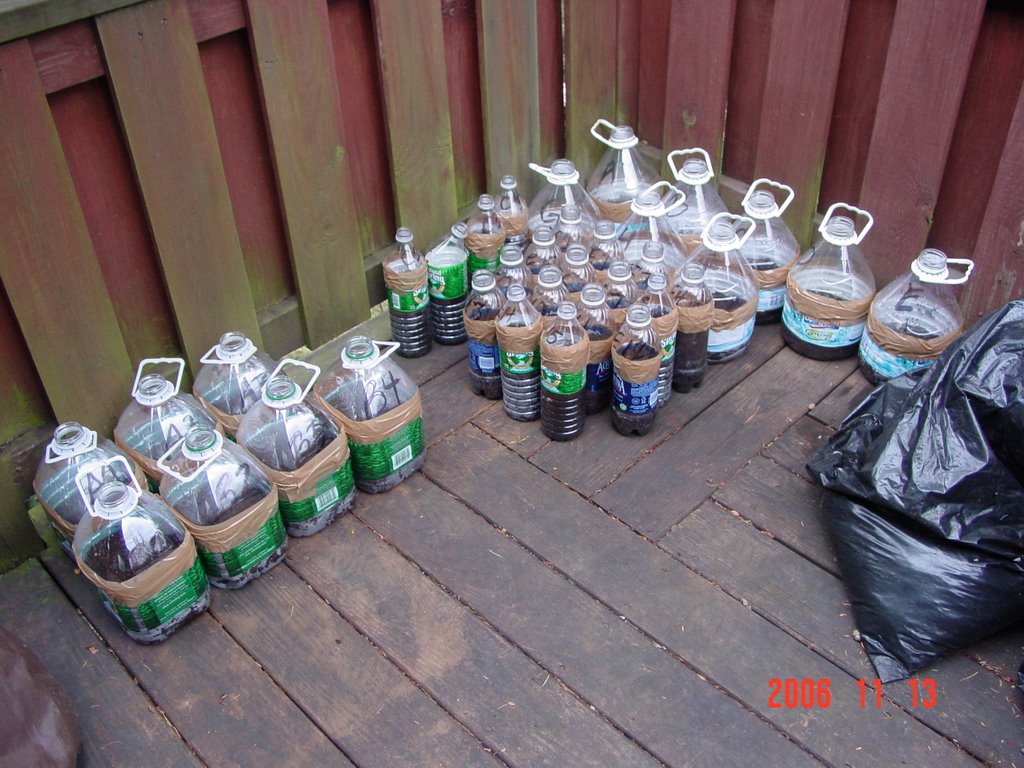
Place the bottles outdoors in a secure area where they won't be disturbed and forget them for the Winter like this:


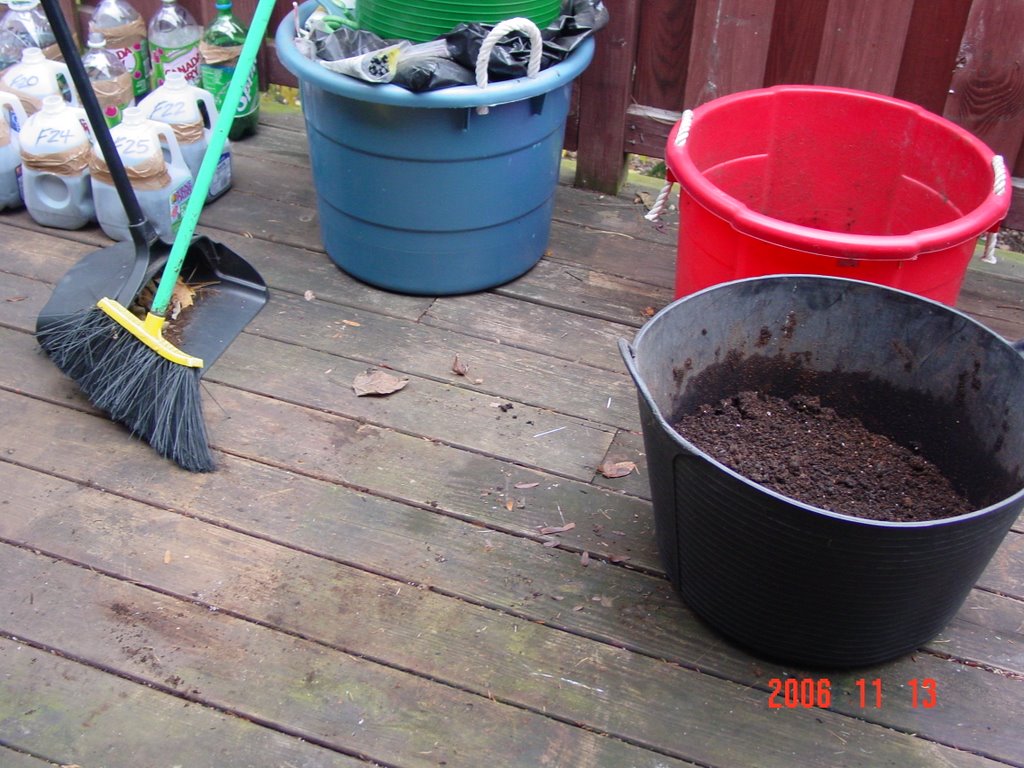
Now for the clean up of my mess, broom and dustpan, it was so much fun...


Tada, I will update again when the time is right for you to actually place your little seedling babies in their permanent beds for them to continue growing, until then....


Chow for now